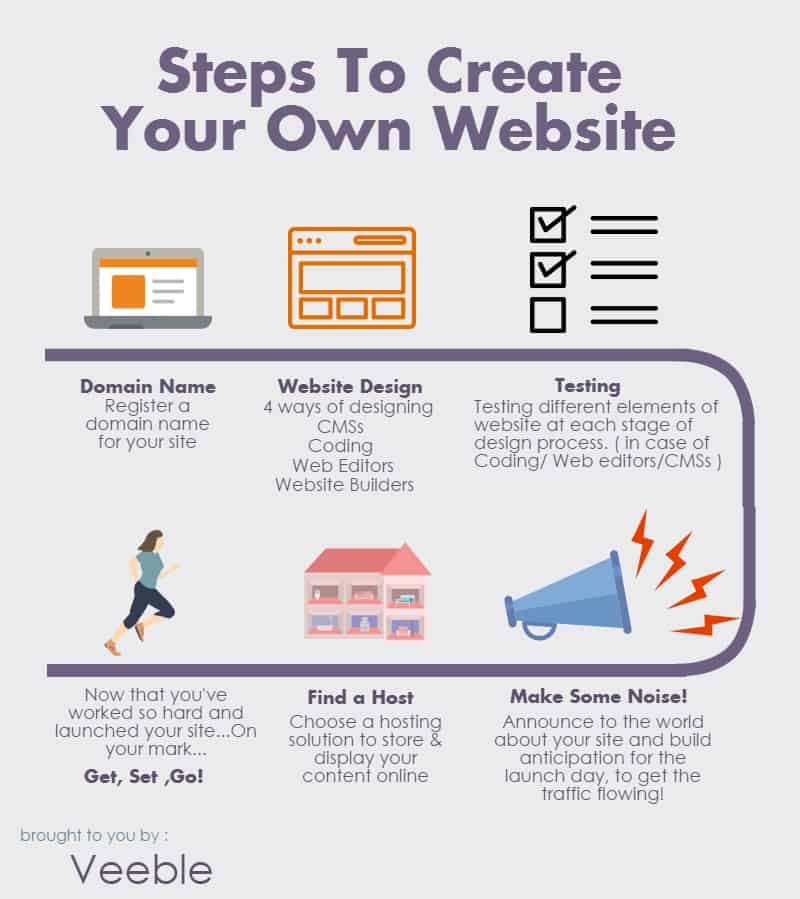
Want to create a new website for your business, or simply wondering how to launch a blog to exhibit interesting facets of your personal life to the public? Whatever your plan be , we present to you the complete guide with the steps on how to build a website for setting up that dream online presence you want.
1. Registering a Domain Name

- Choosing a domain name – The first step should be thinking up a name for your site. Just like how people are named for the purpose of identification, so is a website. A lot of importance is attached to this name. A name which carries the brand name associated with the site in case of business establishments or gives some sort of insight about its purpose would be helpful for visitors by giving an idea about the subject matter of the site. For example, Gmail.com would readily tell people that it is a mail service (E-mail specifically) Remember, the site name is the first area to come under scrutiny from visitors, coming to your online space. So a name which is eye-catching or which sounds good to the ears can make a healthy impression.
- Registering the name – Apart from naming, we have the act of registering itself, to consider. The domain name we have chosen would be registered with ICANN. This is the apex body regulating the allocation of IP addresses. You can check if your domain is already taken and can then register online.
2. Website Designing; Creating Your Site
The second step is perhaps the trickiest of the lot depending upon your choice of doing it. Website design can be done in four ways :
- Coding your site from the bottom up – The language that the browser recognizes is HTML. HTML is what we use to design the front-end of the site, the static web page. However, using HTML alone has its limitations, if your site has other elements like a login page or a contact form, etc. In such cases we would have to create the back-end. The back-end creation would involve the use of programming languages like php, .net, ruby or python, etc. If a database is also present then that needs to be created using a language for database creation, say MySQL. Going for the wow factor, some developers also include javascript made dynamic elements, for better aesthetics and increased responsiveness of a web page.
- Creating your site using a Web Editor – A Web Editor is a program that allows you to create and format web pages on a computer. Once that is done, you can load the created web pages to a host computer and publish your website. Web editors can be a graphic editor like Dreamweaver. We call such programs WYSIWYG editors (What you see is what you get). The advantage is that we just have to design the look and layout of the web pages and add the necessary functions in a visual way without having to learn to code. The code is created by the editor in the background, as we design. Developers too can use this software to quickly create certain web pages and can also customize the code to suit their specific requirements. Other popular editors are Bluegriffon and KompoZer.
- Creating your site using a Content Management System (CMS) – A CMS is a software that you can install on the computer of your web host, instead of installing on your computer. To login to your site and add articles, photos, etc, you can just use the web browser. With a CMS, you control the all the aspects of your site like the design, software, and end product. You’re not tied to your web host at all. If ever you want to change hosts, you can bring your entire site over to the new web host, the way it was before.
CMSs are not that difficult to set up. A few basics like installing the CMS on the host computer and setting up a database may have to be learnt. Many CMSs have add-ons or plugins that can be used to increase the functionality of the CMS. - Creating your site using a Website Builder – A website builder is a web host that also provides a site builder service. Usually, we can design our website directly on the web host’s site upon which the pages are created on the computer of the web host. Each web host has a different site builder, with different designs and way of working. They are an free and easy way to quickly create an online presence. Popular website builders are wordpress, blogger, wix, weebly, rvsitebuilder. The disadvantages of using a Website Builder are that, most of the times we have no rights to the content that we put up online, It would belong to the web host. Also The web pages may be largely static and there won’t be as many customization options as in the other methods discussed here. For some reason if they decide to shut down your account, you won’t be able to retrieve the content and also lose valuable fans of your page
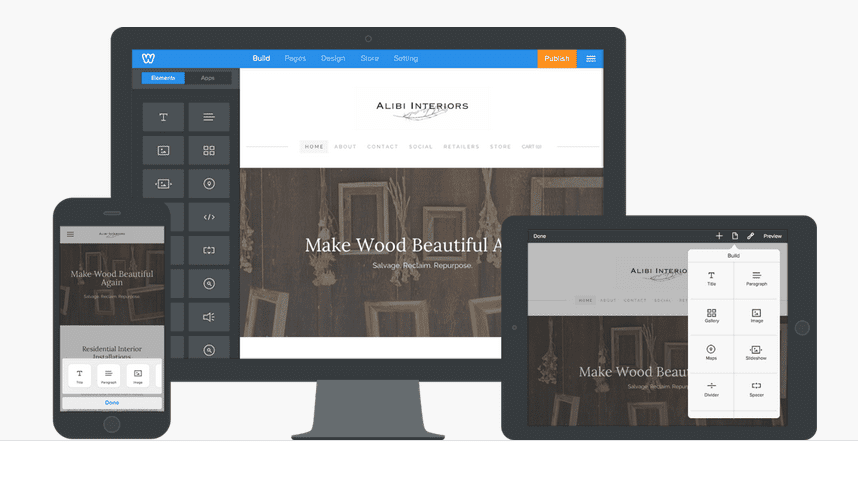
Weebly website builder
3. Testing
This phase is another rudimentary step that needs to be followed, if the website has been built by coding it directly or through a web editor or through a content management system. It has been shown as a separate step but in fact testing needs to be done side by side along with designing, on a regular basis.
- In case of building the website by way of coding, once an element/page of a website has been created, it needs to be run along with the other parts of the website created so far, to check for speed, responsiveness and bugs if any. The code needs to be validated. At times, the running of certain scripts can cause unintended results, which may damage the running of the site. A backup copy of the files, needs to be taken and kept separately for such contingencies.
- Web editors allow us to graphically design the site and the code is created by the editor in the background. So the chance of an error decreases. However a problem may crop up in the form of the web design not turning out to be the way you had imagined, i.e., difference in aesthetics of the website than the one you had planned or had in mind. Hence it’s good to run and test the website.
- Content management systems are the middle ground between the two types mentioned above. They let you visually implement the design of the site with almost minimal technical expertise. On the same hand, they have the option of taking a peek behind the hood to edit the code that forms the crux of your themes or plugins. While plugins aplenty, caution must be taken before applying them as the interactions among some of them can cause a site to crash. It would be to one’s interest to check from the CMS developers or user community before making a decision.
Also it is good to test your website in a variety of browsers to check if it looks, responds and function the same way in every browser.
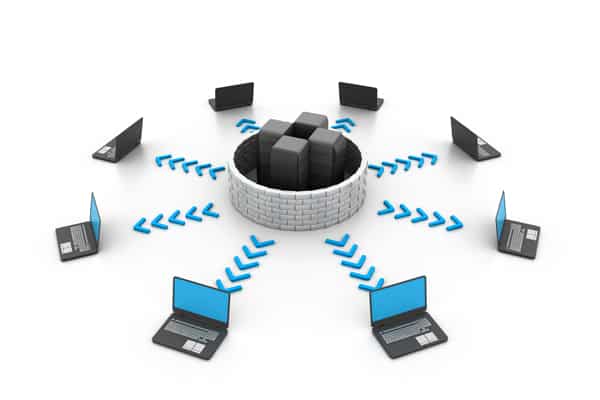
4. Finding a Host
Now that the site has been created and tested, you need a web host, or a host computer where you can load your content. The web host is a computer that is connected to the Internet. Everyone would be able to access and view your site. For hosting, you would need to pay a monthly or yearly fee, the value of which would depend on criteria like bandwidth and space allocated, etc. Getting a domain name can be thought of as naming a store that you are planning to open in the real world and getting a hosting space is like finding the plot of land for that store to be erected. See our website hosting plans.
5. Ready to go!

So after all the planning, designing, marketing and checking, you’ve finally completed the website. Run a final check to see if every part of your website is working perfectly. Wait no more, go public with your launch! All the very best .Image Source: matthewbrown.net