As a server administrator with experience in managing Linux VPS from various Windows environments, I’ve witnessed significant changes in how we connect to and manage servers. Traditionally, accessing a Linux server from a Windows workstation often meant relying on third-party tools like PuTTY. However, with the advent of Windows 10 and the further enhancements in Windows 11, the landscape has shifted. Let’s delve into the evolution of accessing Linux servers from Windows and compare the traditional method with the latest built-in SSH features.
Traditional Method: Using PuTTY
It’s important to note that we have previously discussed how to connect to a Linux server using PuTTY on Windows, offering a traditional method for secure remote access. For many years, PuTTY has been the go-to SSH (Secure Shell) client for Windows users needing to access Linux servers. Its popularity stems from its comprehensive feature set, including:
- SSH client for secure access
- Telnet client for unencrypted access (though less commonly used today for security reasons)
- GUI for session management, allowing users to save and manage session configurations
- Support for various network protocols like SCP and SFTP for file transfers
PuTTY’s reliability and extensive configuration options made it a staple tool for server administrators. However, it required downloading, installing, and updating a separate application, which could sometimes be cumbersome, especially for those managing multiple workstations.
The Shift in Windows 10 and Windows 11
With Windows 10, Microsoft introduced the Windows Subsystem for Linux (WSL) and later enhanced it in Windows 11. Additionally, Windows now includes a native SSH client accessible directly from Command Prompt or PowerShell. These developments have dramatically simplified the process of connecting to Linux servers.
Built-in SSH Client
The inclusion of a native SSH client in Windows 10 and Windows 11 means that users can now access their Linux VPS directly from the Command Prompt or PowerShell, using the familiar SSH command:
ssh username@server_ipFor example:
C:\Users\nayan>ssh root@66.85.185.123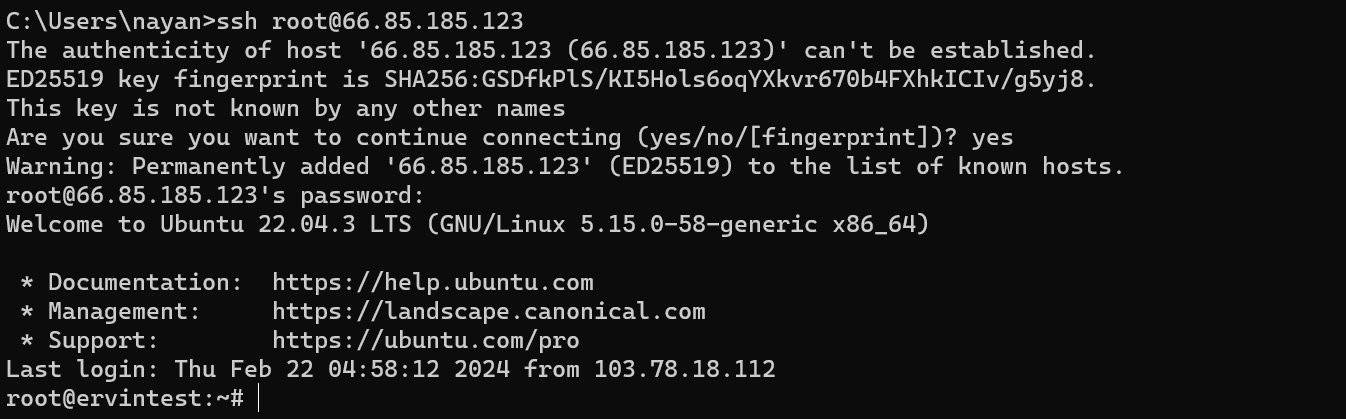
This method eliminates the need to install third-party software for basic SSH access. It’s particularly beneficial for quickly accessing servers without the need for advanced session management or for users who prefer a minimalist setup.
For users seeking a more Linux-native environment within Windows, WSL provides the ability to run a Linux distribution alongside Windows applications.
Windows Subsystem for Linux (WSL)
WSL takes things a step further by providing a full Linux kernel and environment within Windows. This feature is a game-changer for administrators who require more than just SSH access, offering the ability to run Linux software directly on a Windows machine. WSL is ideal for development, testing, and managing servers with tools that are native to Linux
WSL benefits include:
- Full Linux terminal experience in Windows.
- Ability to run Linux applications and use Linux-specific toolchains.
- Integration with Windows file system for easy file sharing between Windows and Linux environments.
Using Windows Subsystem for Linux (WSL)
If you prefer a Linux-like environment, you can install WSL on Windows 11:
- Open PowerShell as Administrator and run the below command:
C:\Users\nayan> wsl --install- This command installs the WSL feature and the Ubuntu distribution by default. You can choose other distributions from the Microsoft Store.
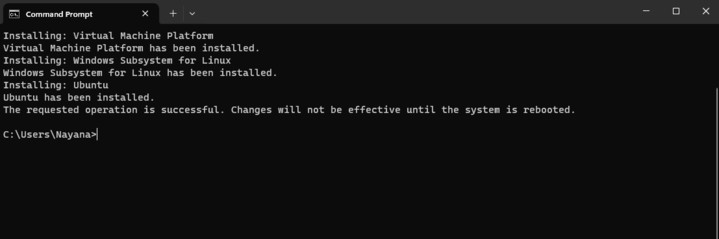
- Once the installation is successfully completed, kindly reboot the system to make the changes effective.
After Installation
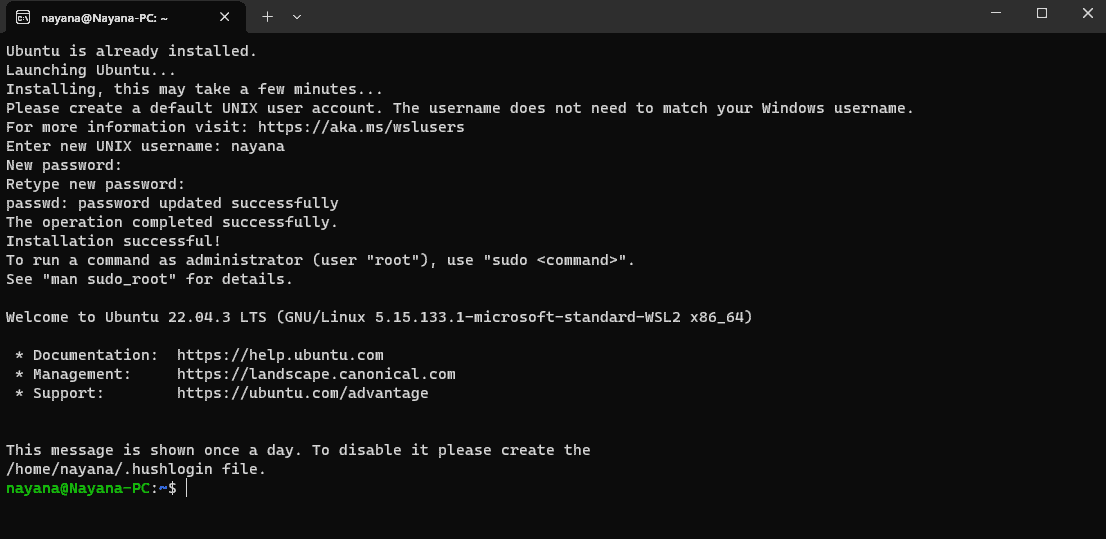
- Launching Linux: After installation, you can launch your installed Linux distribution via the Start menu or by typing the name of the distribution in your terminal (e.g.,
ubuntu).

- Set up WSL: Follow the prompts to set up your Linux distribution, including creating a user account and password.
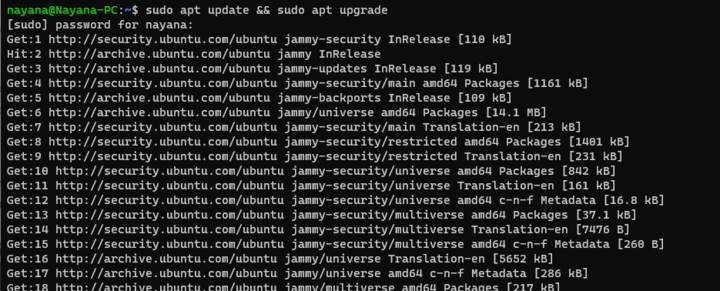
- Updating Linux Distribution: It’s a good practice to update your Linux distribution after installation. You can do this by opening your Linux distribution and running:
Comparison and Personal Experience
As someone who has used both methods extensively, here are my thoughts on the comparison:
- Convenience: The built-in SSH client and WSL in Windows 11 offer unparalleled convenience. There’s no need to install additional software for basic access.
- Functionality: While the native SSH client is excellent for simple SSH access, PuTTY still offers more advanced features like session saving, port forwarding, and more detailed configuration options. For complex session management, PuTTY has the edge.
- Environment: WSL provides an authentic Linux experience, including the ability to run Linux applications directly. For server administrators who frequently switch between Windows and Linux environments, WSL is incredibly powerful.
Conclusion
While PuTTY remains a powerful tool for SSH connections with its rich feature set, the native SSH client and WSL in Windows 10 and Windows 11 provide built-in alternatives that cater to different user preferences and needs. For basic SSH connections, the built-in SSH client offers a quick and integrated solution. For users seeking a deeper Linux integration within Windows, WSL provides a robust environment for running Linux alongside Windows applications. The choice between PuTTY, the built-in SSH client, and WSL depends on the specific requirements, preferences, and workflow of the user.