Installing WAMP (Windows, Apache, MySQL, PHP) on a Windows VPS provides a powerful, integrated environment to develop and host web applications. This setup is ideal for developers and businesses looking for a reliable and cost-effective solution to create, test, and run web applications on a Windows platform. WAMP combines the flexibility of the Apache web server with the robustness of MySQL and the functionality of PHP to offer a comprehensive development platform. The following guide outlines the steps required to install WAMP on a Windows VPS, ensuring you have a seamless and efficient setup process to kickstart your web development projects.
Prerequisites
->Server running Windows Server along with RDP access.
->Administrative privileges.
->Install Visual C++ library on server.
Steps to install WAMP
1. Install Visual C++
Installing the Visual C++ library on your server is a mandatory for installing WAMP on a Windows VPS and getting it to function properly.
2. Download WAMP
Open the web browser on your VPS and navigate to the official WAMP Server website http://www.wampserver.com/en/. Download the WAMP Server installer, selecting the version that matches your VPS’s system architecture (32-bit or 64-bit).
3. Install WAMP Server
- when your server has downloaded the WAMP server. To begin the installation process, double click on the downloaded file.
- After choosing your language, press the OK button. The following screen will ask you to read and approve the licensing agreement:
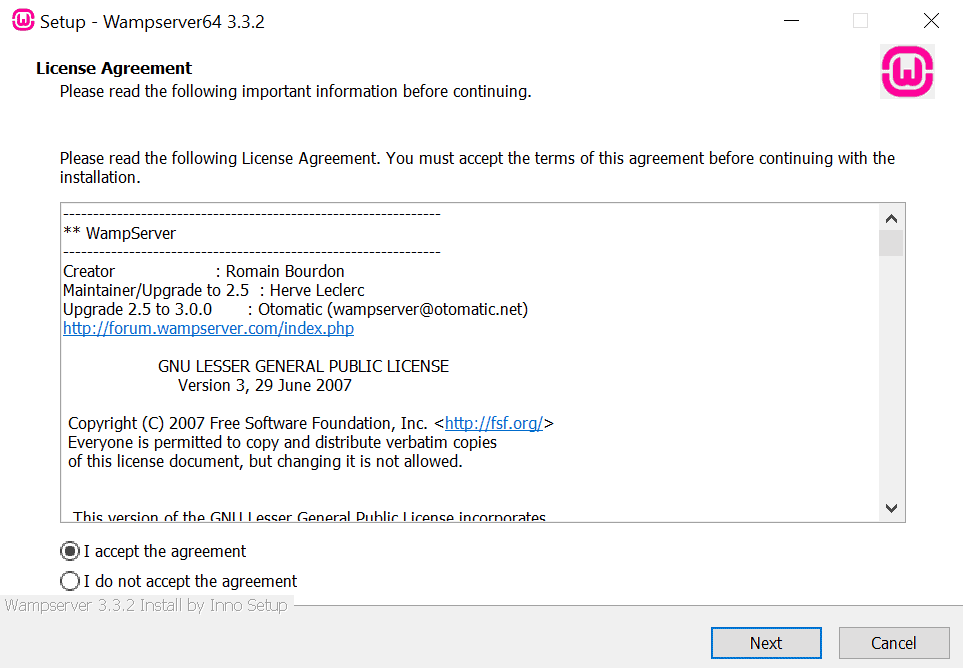
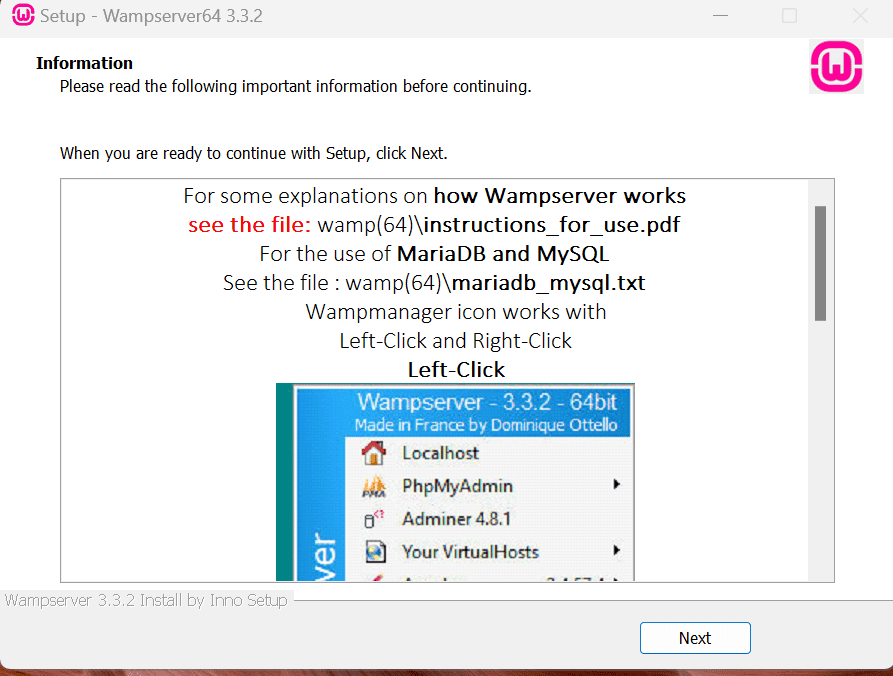
3. Read and accept the licensing agreement, then click the Next button. You should see the WAMP information screen.
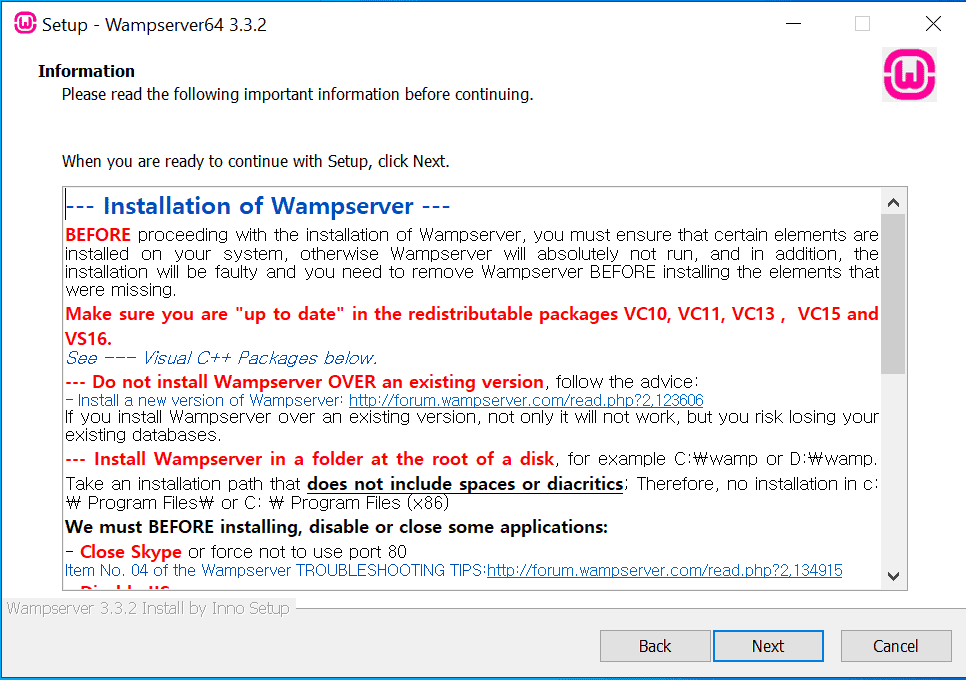
4. Read the WAMP critical information, then click the Next button. You’ll be asked to specify the installation folder location.
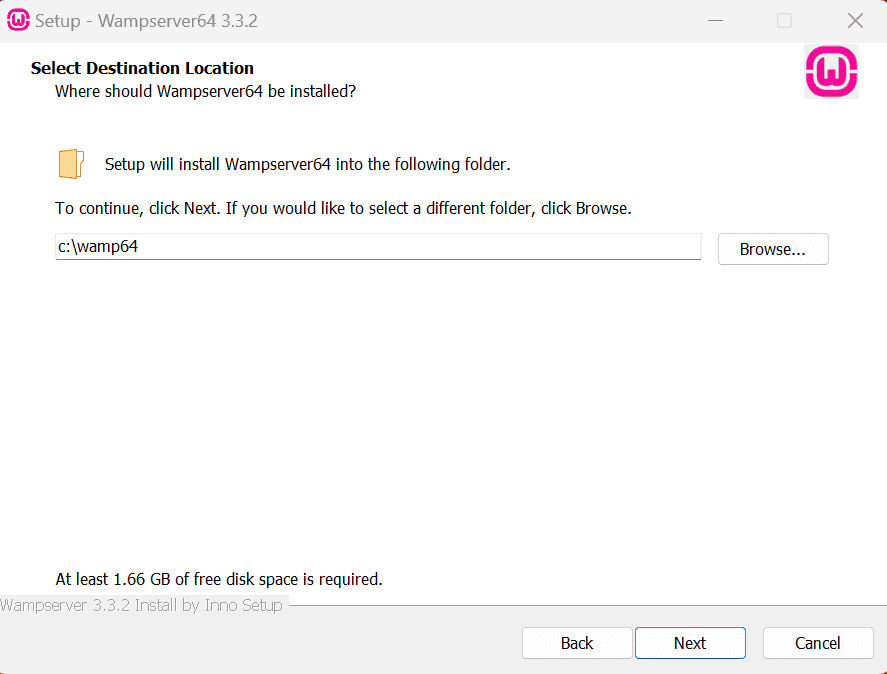
5. Click on Install to start the installation process. During installation, you may be prompted to choose a default web browser and text editor. you can select according to your preferences.
6. Now you can see how Wampserver works, and click Next.
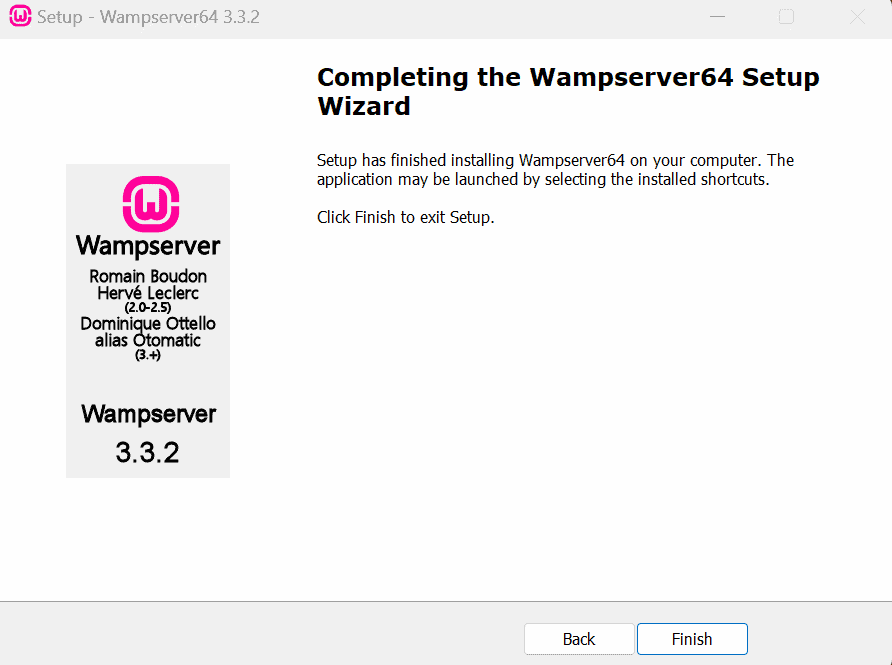
7. Now the installation is finished. Please click Finish.
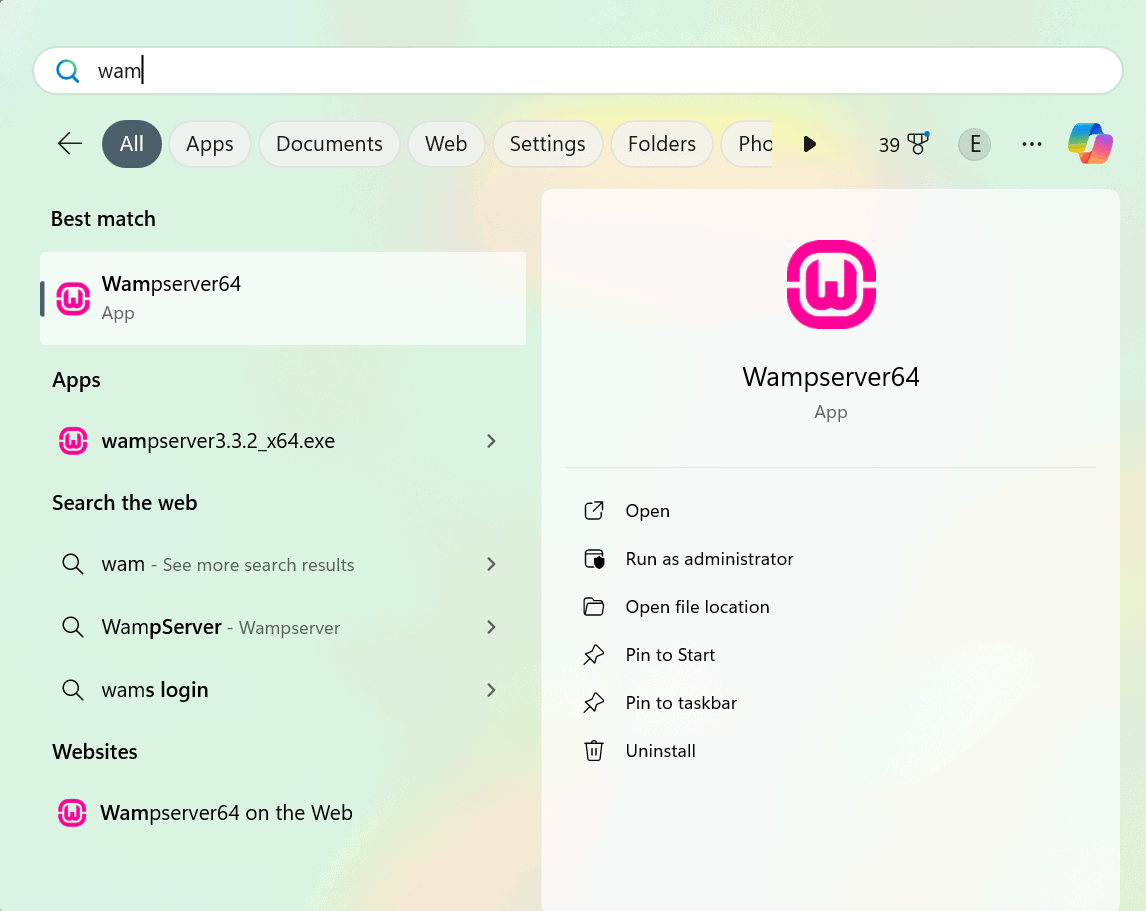
8. Once the installation is successfully completed, you can start the wamp service by searching wampserver64 in the search bar.
Verify WAMP Server
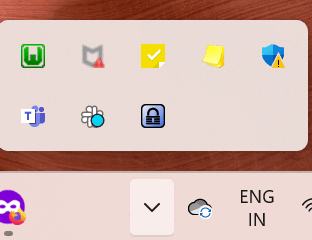
-> Once you click the WAMP icon, it turns green. If it doesn’t turns green, it means there persist an issue with WAMP. Then restart all services.
-> To test the WAMP server, once all the service is started, type the URL http://localhost in the web browser. Then you can see the test page of WAMP server.

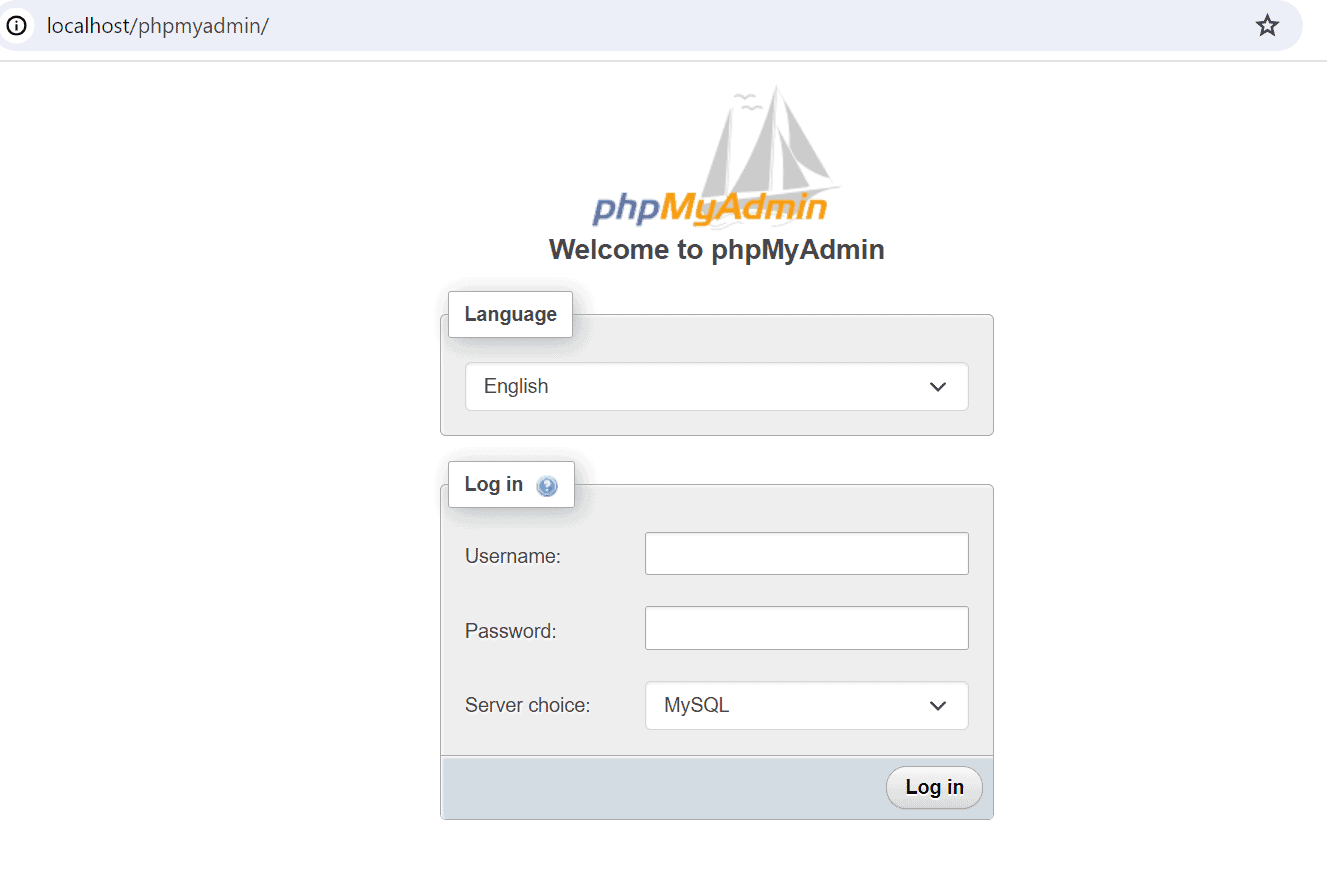
-> To access phpMyAdmin Please type the URL http://localhost/phpmyadmin in your web browser. You can see the login screen of phpMyAdmin.
How to use WAMP server?
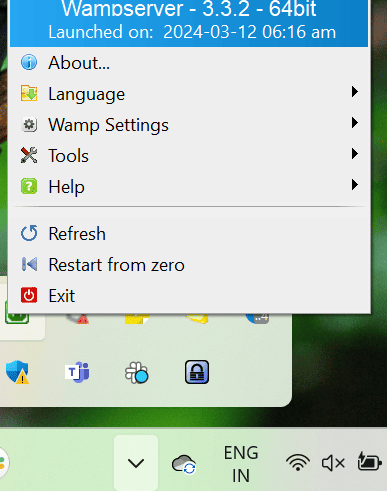
-> The WAMP server offers numerous options for managing all components. To access all WAMP components, right-click the WAMP icon in the notification bar. On the screen shown below, you should see all configuration options.
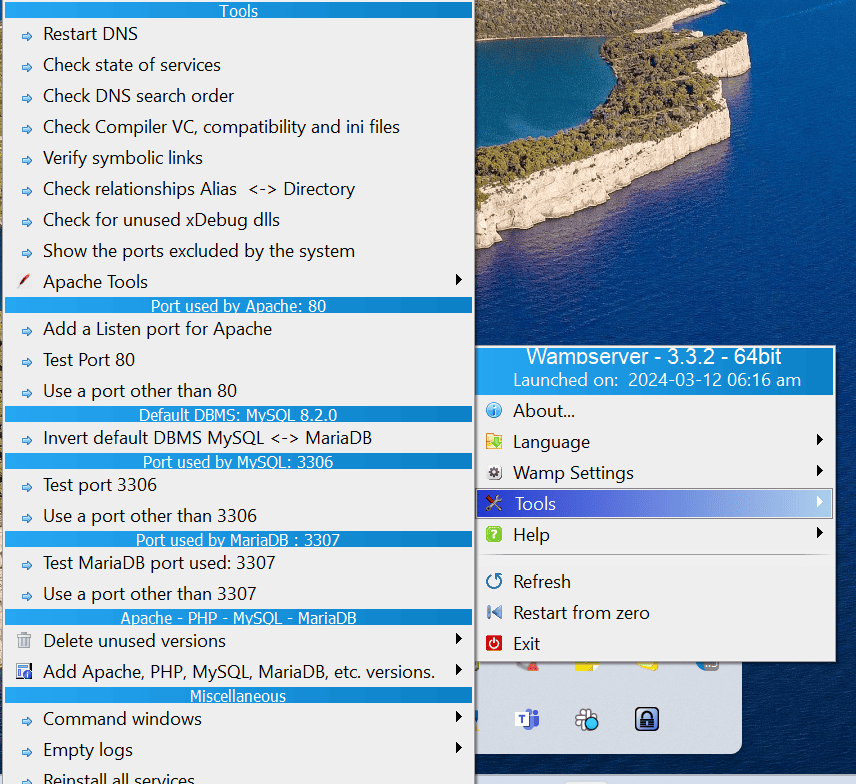
-> Select on Tools option, you can see further option.
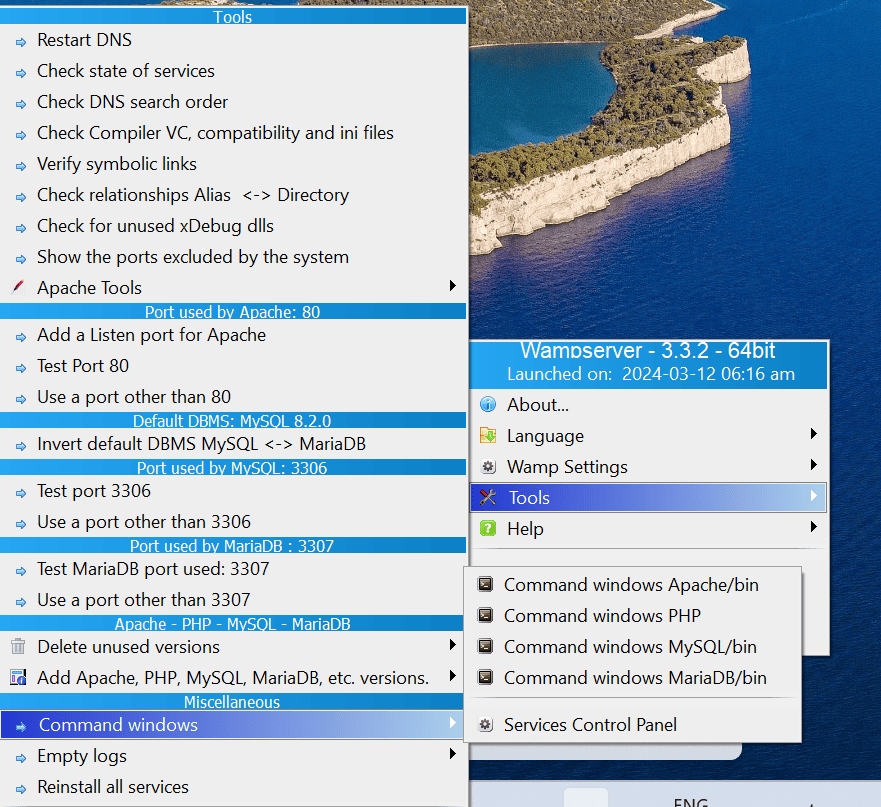
-> By using Command option you can interact with different services like Apache, MySQL, PHP, MariaDB via command line interface.
Conclusion
Congratulations! You’ve successfully installed WAMP on your Windows VPS, creating a robust platform for developing and hosting web applications. WAMP’s integrated environment simplifies the development process, offering a convenient and efficient solution for web developers working in a Windows ecosystem.