As a hosting provider, we often encounter various email delivery issues within our shared server environment, particularly those related to email delivery and spam emails. To effectively combat these challenges, we depend on robust spam filtering mechanisms for outgoing emails. This approach ensures that only legitimate emails are sent through our server while blocking all spam emails. By doing so, we maintain a clean IP reputation, thus preserving our server’s overall reputation.
In our hosting environment, our primary objective was to offer a premium email service at an affordable cost for our shared hosting customers, guaranteeing them reliable email delivery. We’ve implemented a system where regular users’ emails are routed through our server, while premium users’ emails are directed through the Spam mail filtering service, ensuring top-tier email delivery and security.
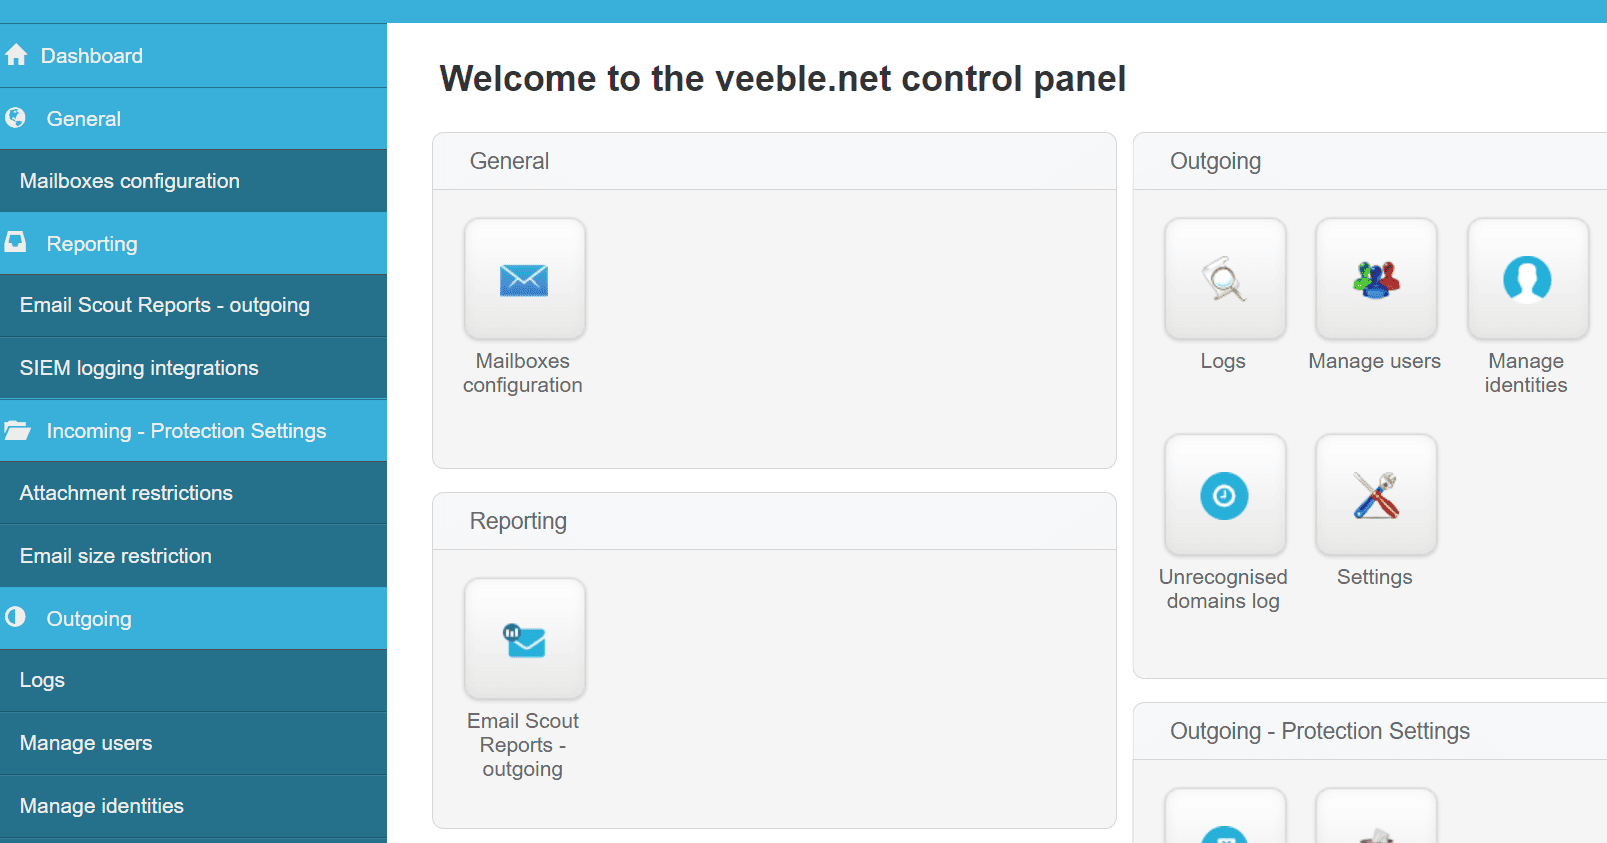
Here is the guide for configuring the N-able SpamExperts outgoing email filter on a cPanel server for specific domains.
To begin, you must sign up for the outgoing mail filtering service on the official website:
https://www.spamexperts.com/services/outgoing-filter
Once you have successfully registered for the service, we will proceed to configure our MTA (Mail Transfer Agent) on the cPanel server to utilize this service. Our specific scenario involves using this feature selectively, meaning that only chosen domains will have the ability to relay through this service, while all other domain emails hosted on the server will continue to be routed through the server itself.
There is official documentation available for configuring the MTA (Exim) on a cPanel server. To meet your specific requirements, please refer to the official article and follow the instructions provided. This documentation covers various scenarios and offers detailed guidance.
- In order to align with our requirements, it is necessary to configure the MTA as outlined in the following article
2. Create a file /etc/spamexperts_domains
Now add domains you need to relay through spam experts to ” /etc/spamexperts_domains”
The server-side settings have been successfully configured.
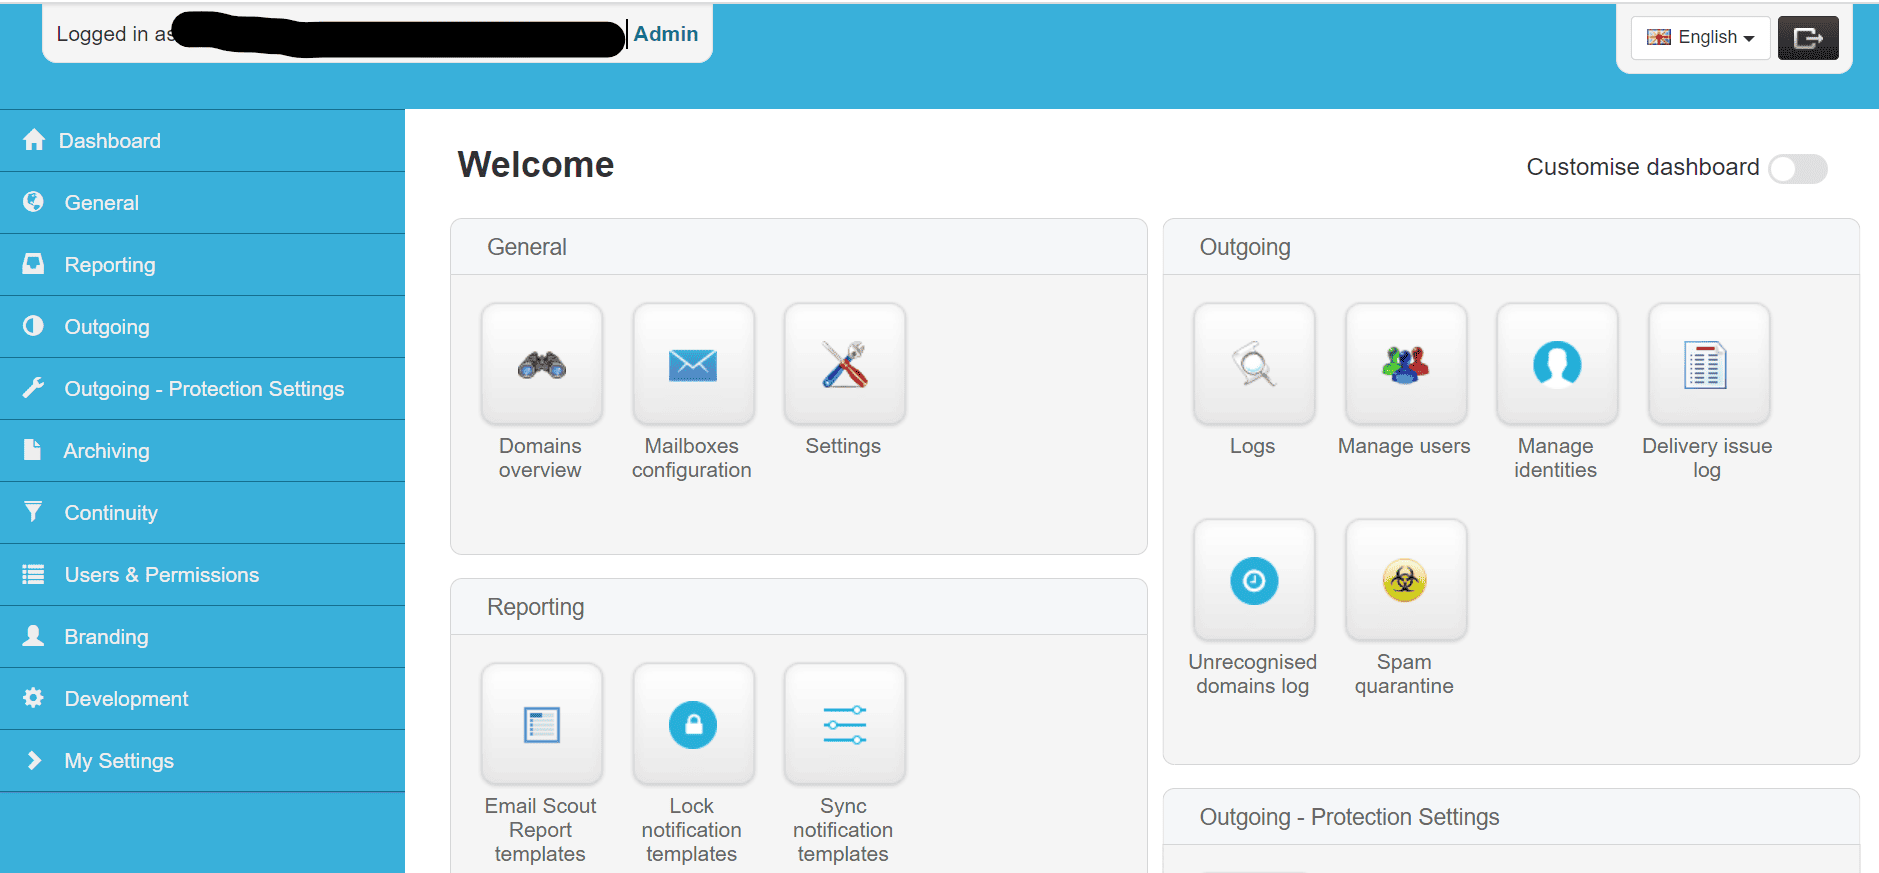
Upon signing up for SpamExperts, you will gain access to a control panel where you can add and manage domains
3. Login to the spamlogin control panel
4. Now, you’ll need to authenticate the server using its IP address, allowing any domain on that server utilizing the same IP to be added to this control panel for service usage. To initiate this process, I’ve initially included the server’s hostname in this control panel, which authenticates all domains associated with that IP.
For instance, let’s take the domain name veeble.net, which serves as the hostname for a shared server and shares the same IP address with other hosted domains under this server. Consequently, I will add this domain to the control panel and perform the initial IP authentication.
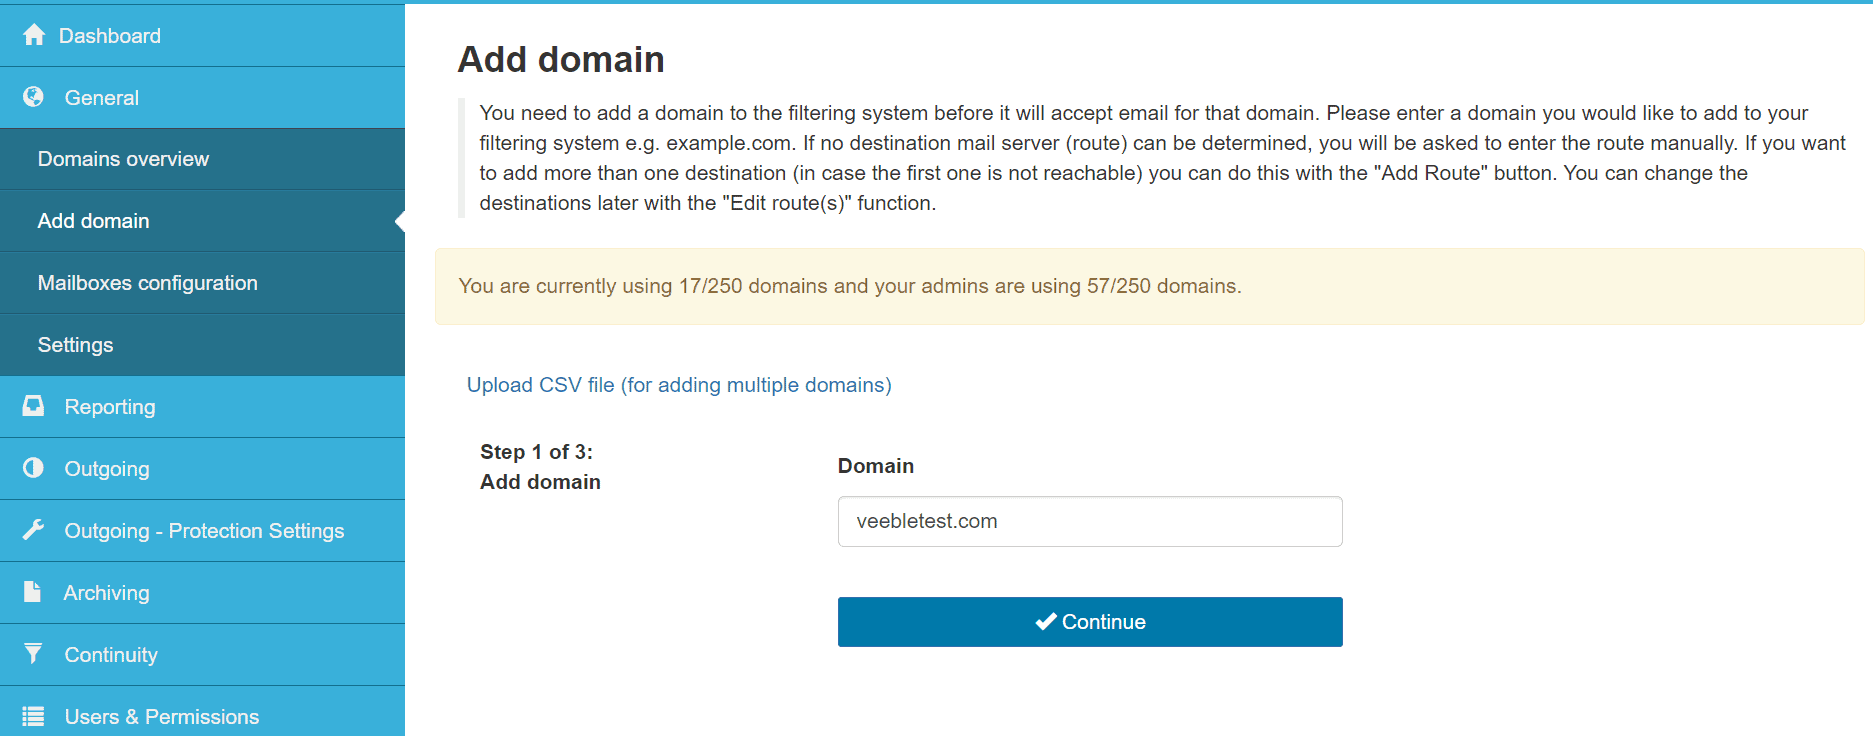
- Begin by logging in to spamlogin.com.
- Navigate to the ‘General’ section, then select ‘Add Domain,’ and proceed to add veeble.net.
- Follow the on-screen instructions as illustrated in the provided screenshots.
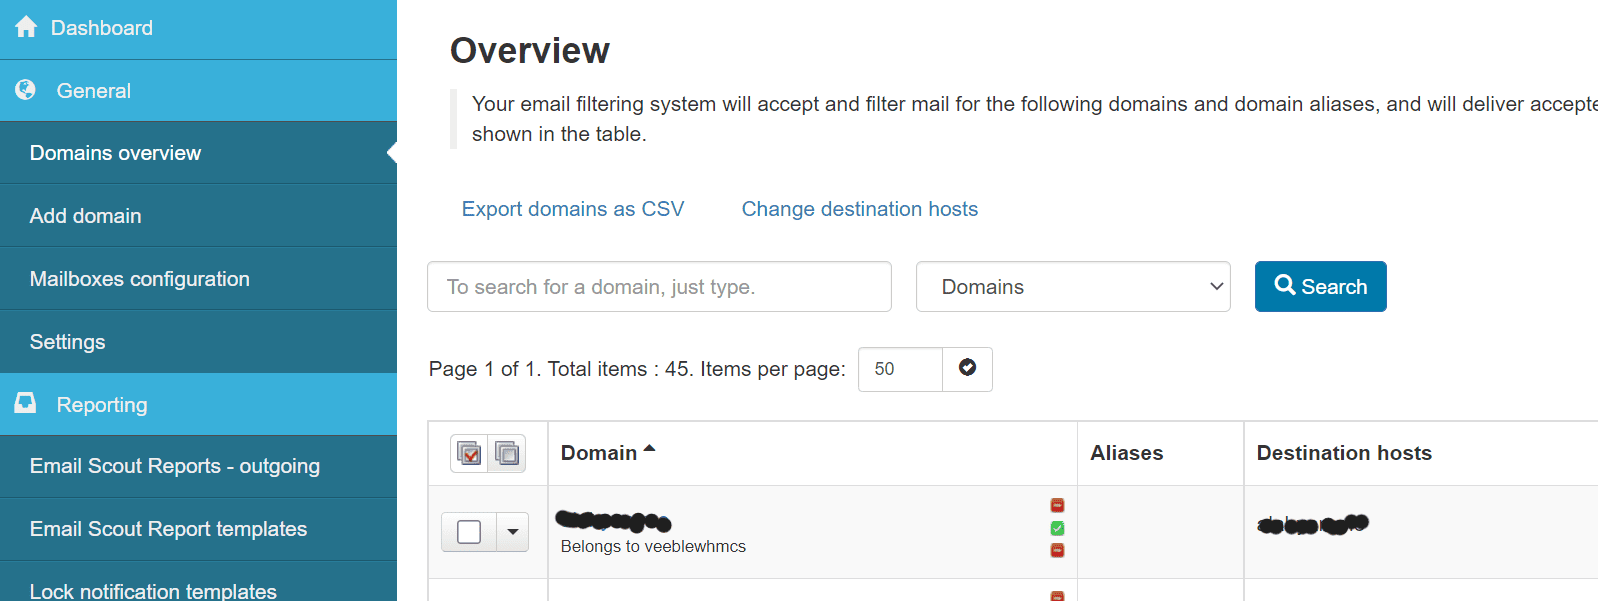
Once the domain is successfully added, the next step involves authenticating the IP address.
Please verify that the added domain is listed.
Spamlogin >> General >> Domain overview (all domains added will be listed here)
Authenticate the domain, to do so configure the domain as a user under the domain-level control panel.
If the domain has a dedicated IP follow these steps
Spamlogin >> General >> domain overview >> click on the desired domain name
a domain-level control panel will open up
Select manage users >> select “Authenticating IP or range” option
Provide the dedicated IP and click ” add and configure”
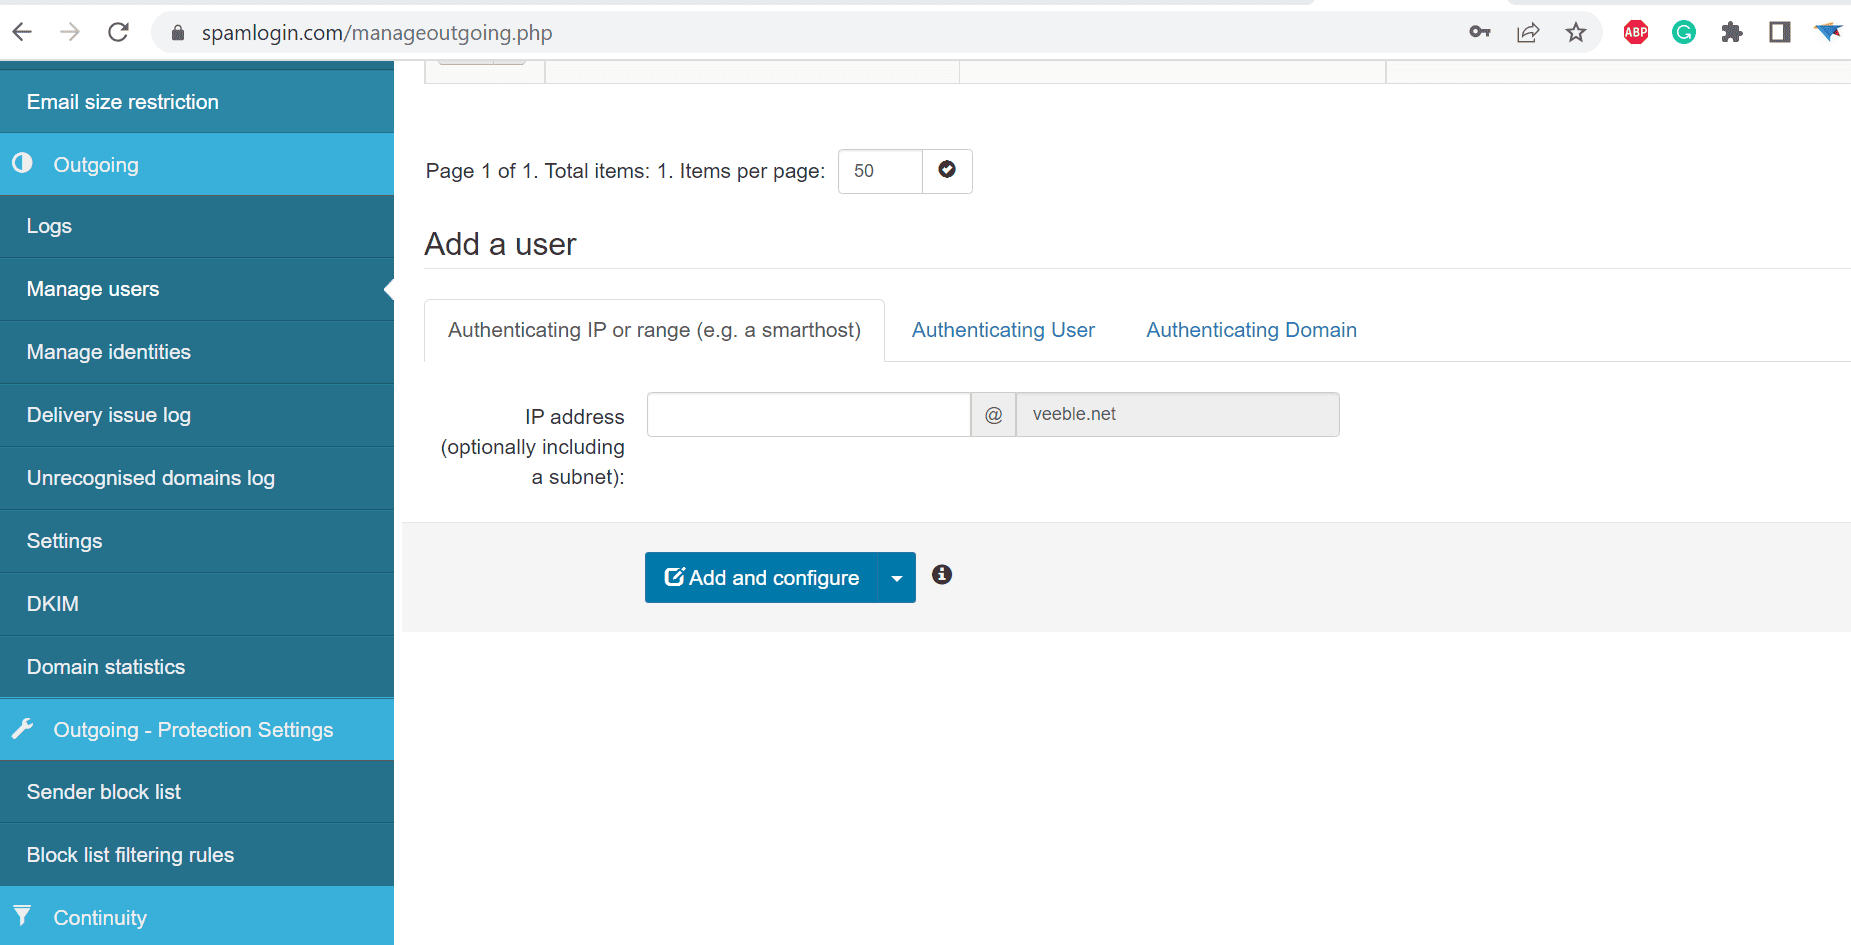
Lock identities automatically: Yes
And then click on Save
For Domain without dedicated IP follow these steps
Spamlogin >> General >> domain overview >> click on the desired domain name
A domain-level control panel will open up
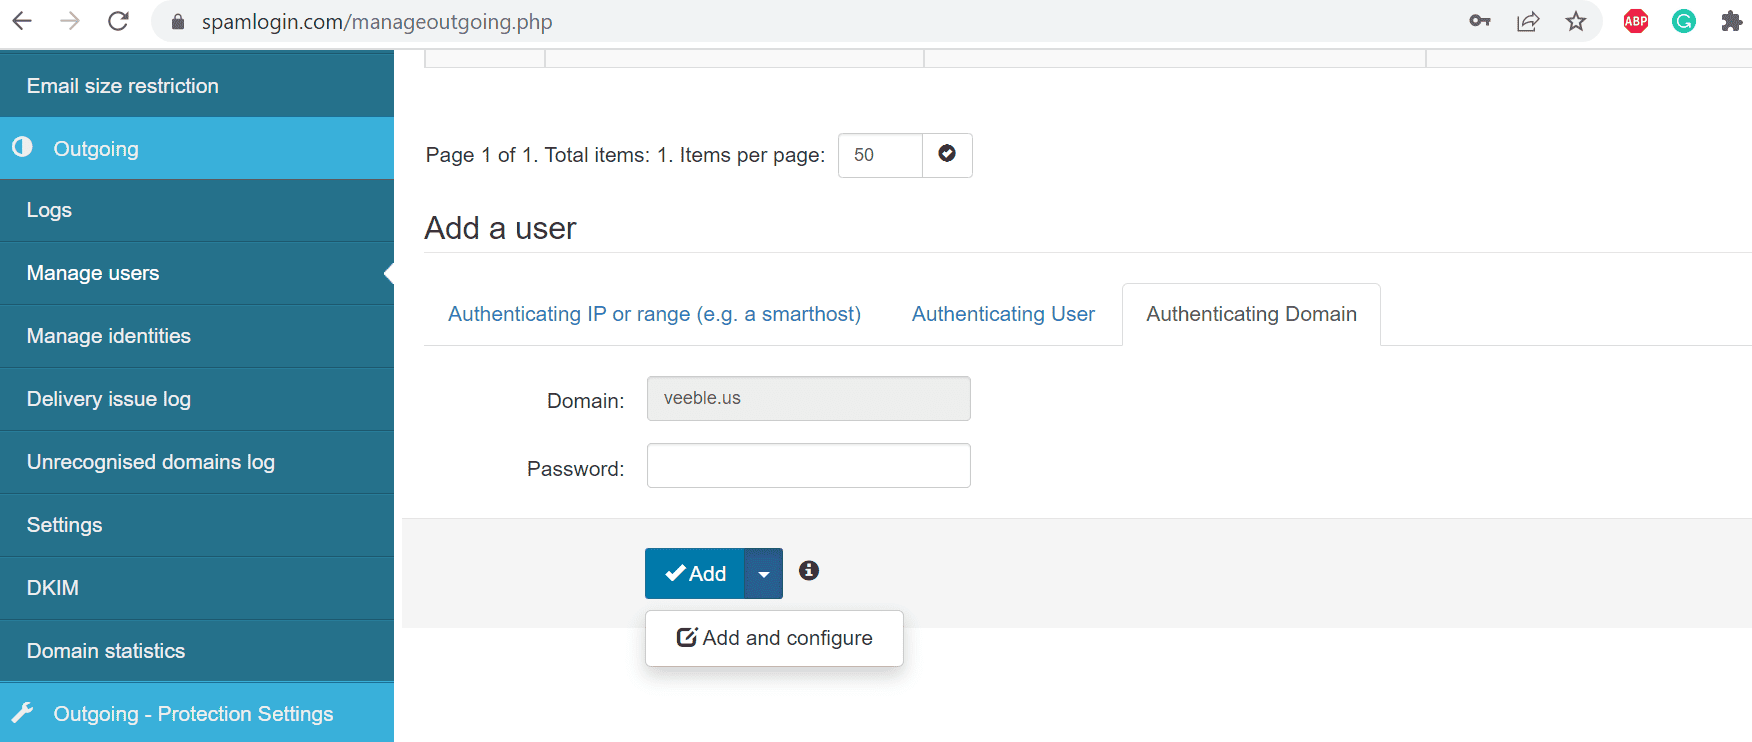
Click manage users >> select “Authenticating Domain” option
The domain name will be displayed there by default.
Provide a strong password >> and click “add and configure” from the dropdown menu.
(no need to write the password, we are not using it anywhere)
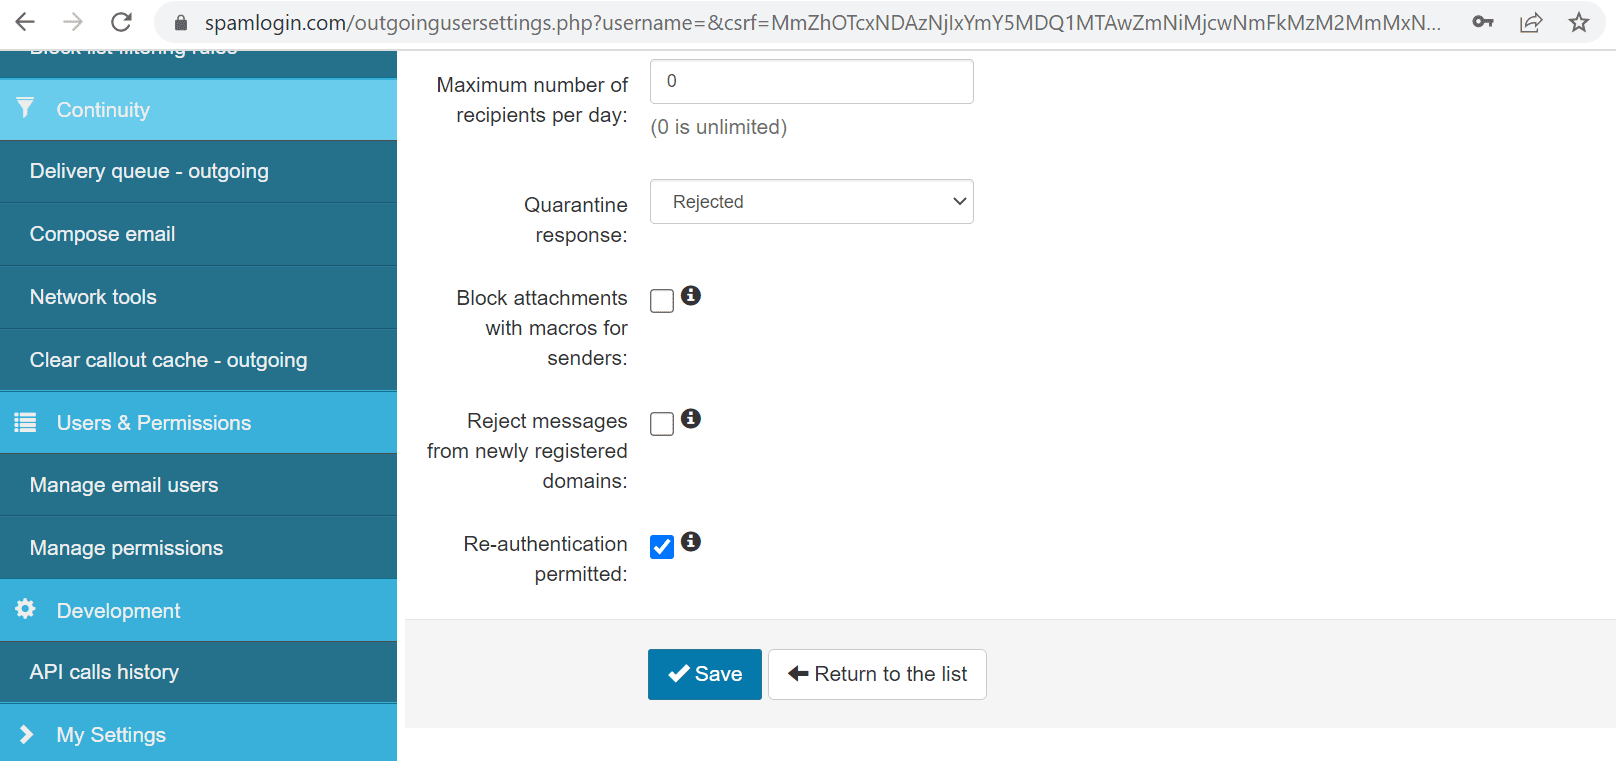
Lock identities automatically: Yes
Re-authentication permitted: Tick
And then click Save.
5. Now you will have to add SPF and DKIM (optional) records in your DNS.
SPF
v=spf1 include:spf.antispamcloud.com ~all << add this SPF record in domain DNS
DKIM
1.In the Domain Level Control Panel, select Outgoing > DKIM
2.Choose the DKIM key length (we advise 2048, if your DNS can accept that)
3.Enter the DKIM selector and click on Generate and save new private/public pair (the selector can be whatever you want it to be)
4. Once the key has been generated, you will need to add it to the DNS on the subdomain, for example
eg: yourselector-2022._domainkey.example.com
5. Save this in domain DNS as a TXT record and then,
in the Outgoing User Settings page for your outgoing user, enter what was used in step #3 in the DKIM Selector field
(domain level control panel >> manage users >> click on the dropdown menu on the left side and select edit)