
Securing your website with SSL (Secure Sockets Layer) is vital for data encryption and trust. Furthermore, information transferred between a visitor’s browser and a server is encrypted by SSL/TLS (Secure Sockets Layer/Transport Layer Security). These robust security procedures guard against digital interceptors.t also safeguards private correspondence. cPanel offers an easy way for SSL Installation Process, ensuring a secure connection between your website and visitors. This article provides a step-by-step guide to SSL installation in cPanel.
1) Create an email account admin@yourdomain.com in your cPanel account. (Login to cPanel >> Email accounts)
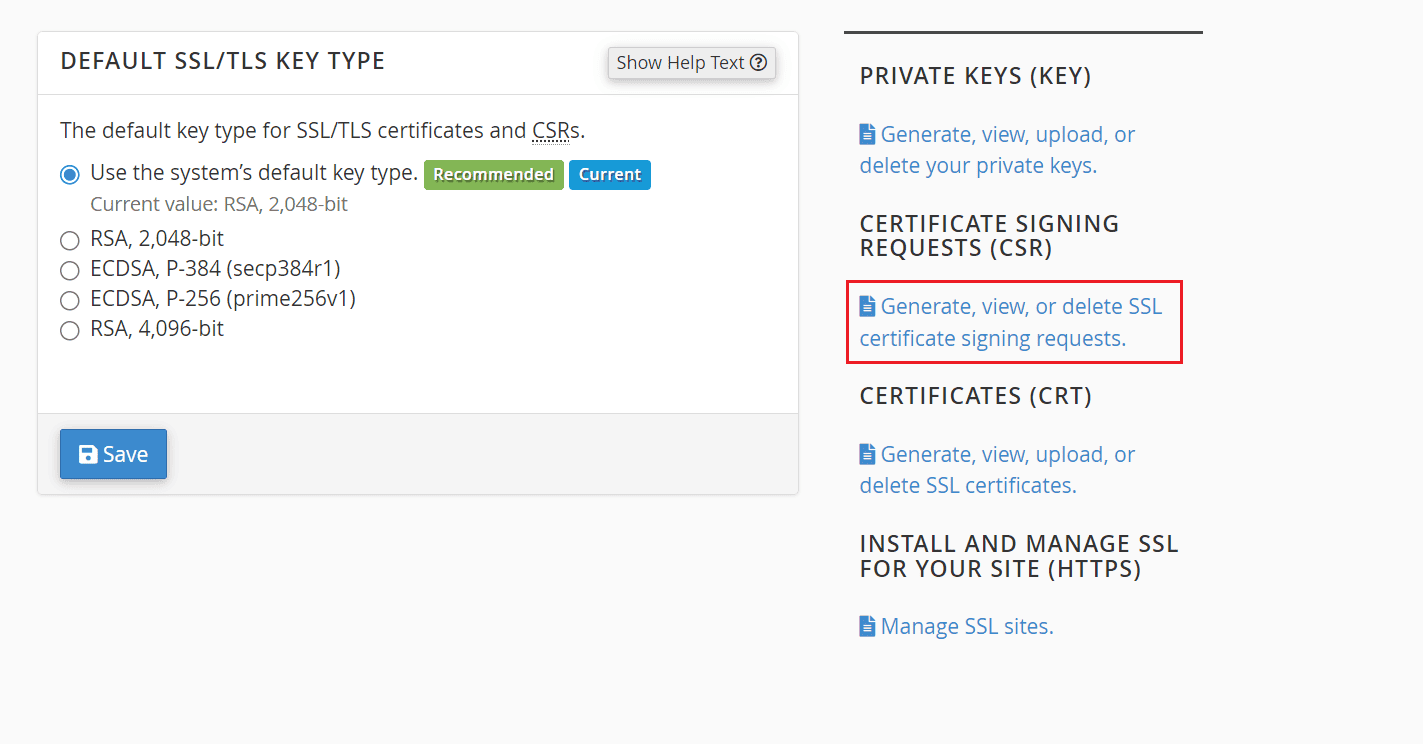
2) Now generate a CSR and to do that, Login to cPanel >> SSL/TLS and click on “Generate, view, or delete SSL certificate signing requests.”
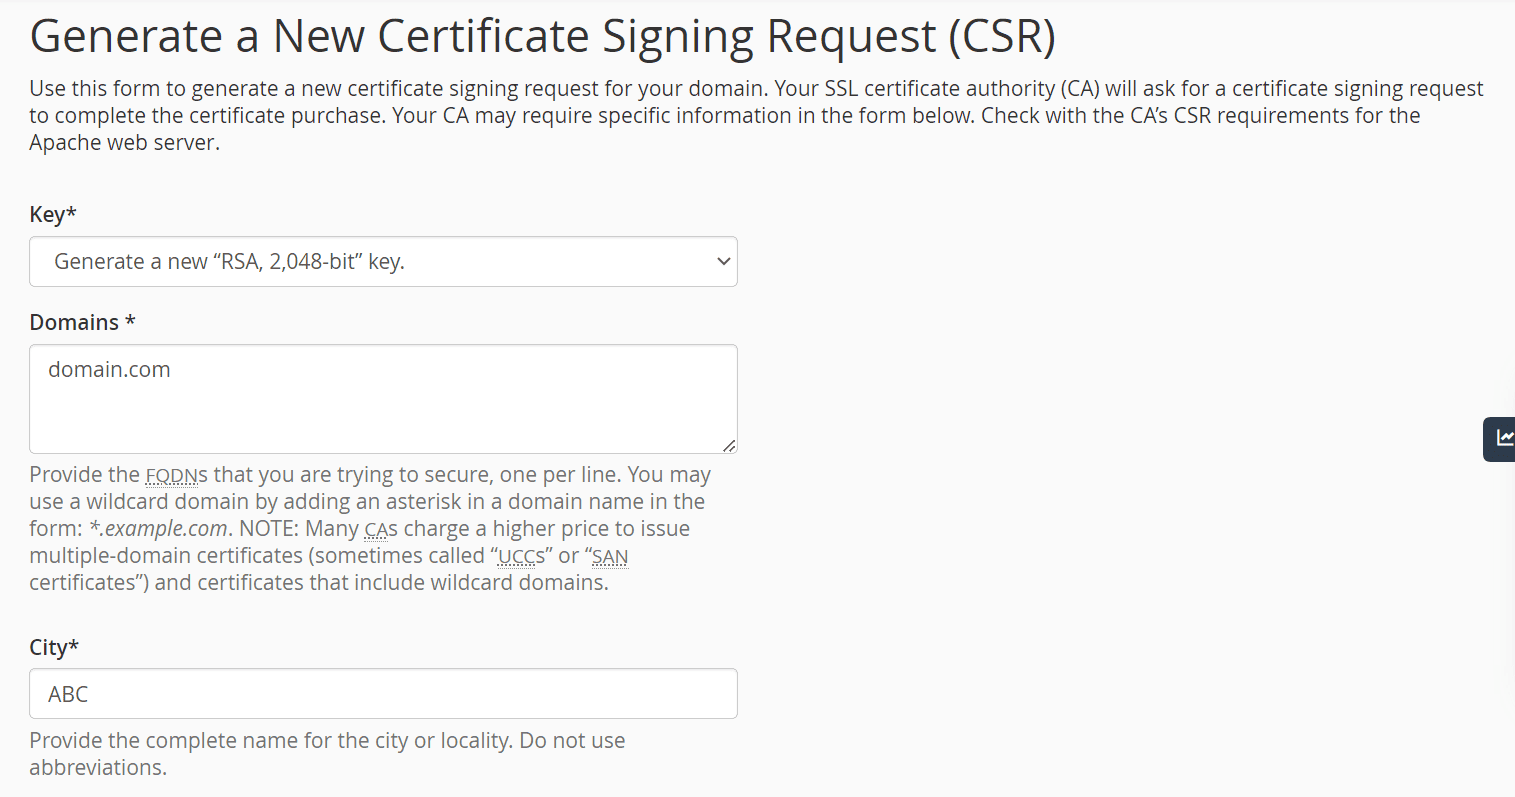
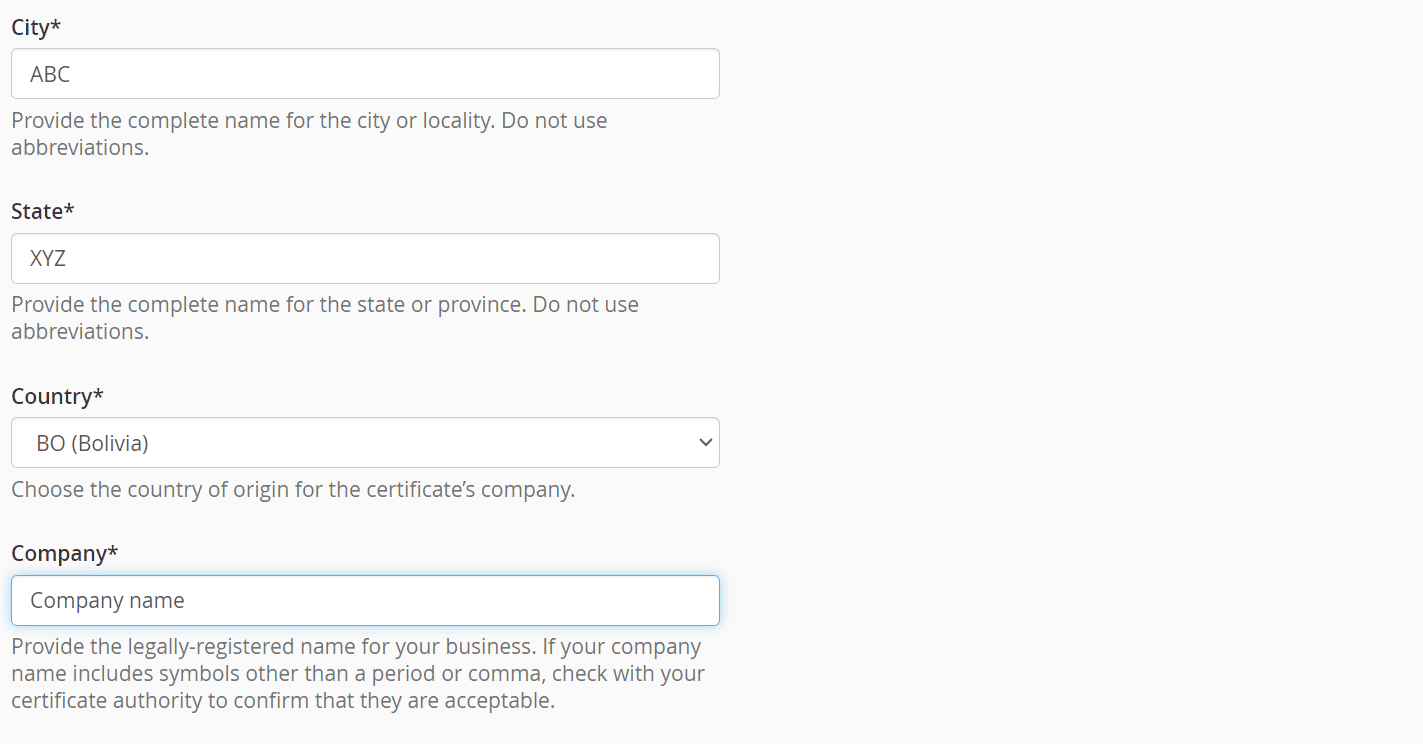
3) Only fill the text fields which are given with * symbol and click generate.
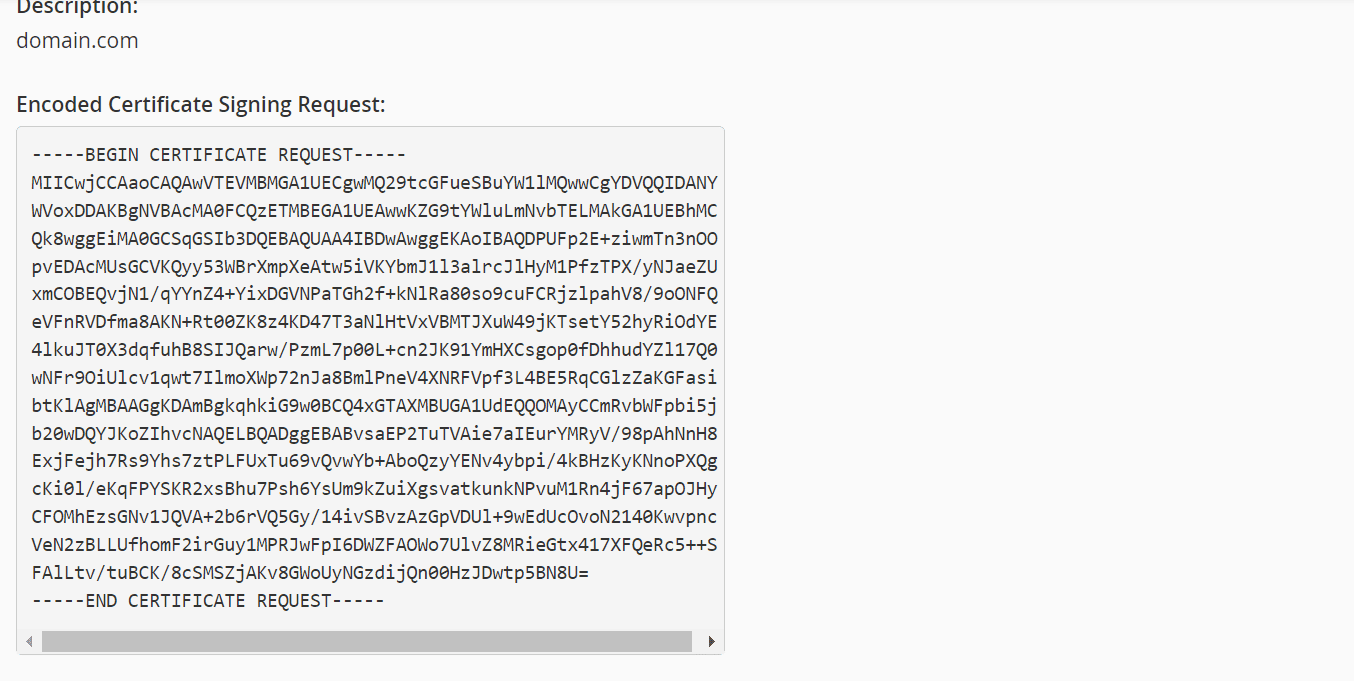
4) Copy the generated CSR and open your SSL configuration wizard by clicking your purchased SSL product in your Veeble client zone.
5) Click Configure now >> New order >> Webserver Type set to “Any other”. Then paste your CSR file in the given field.

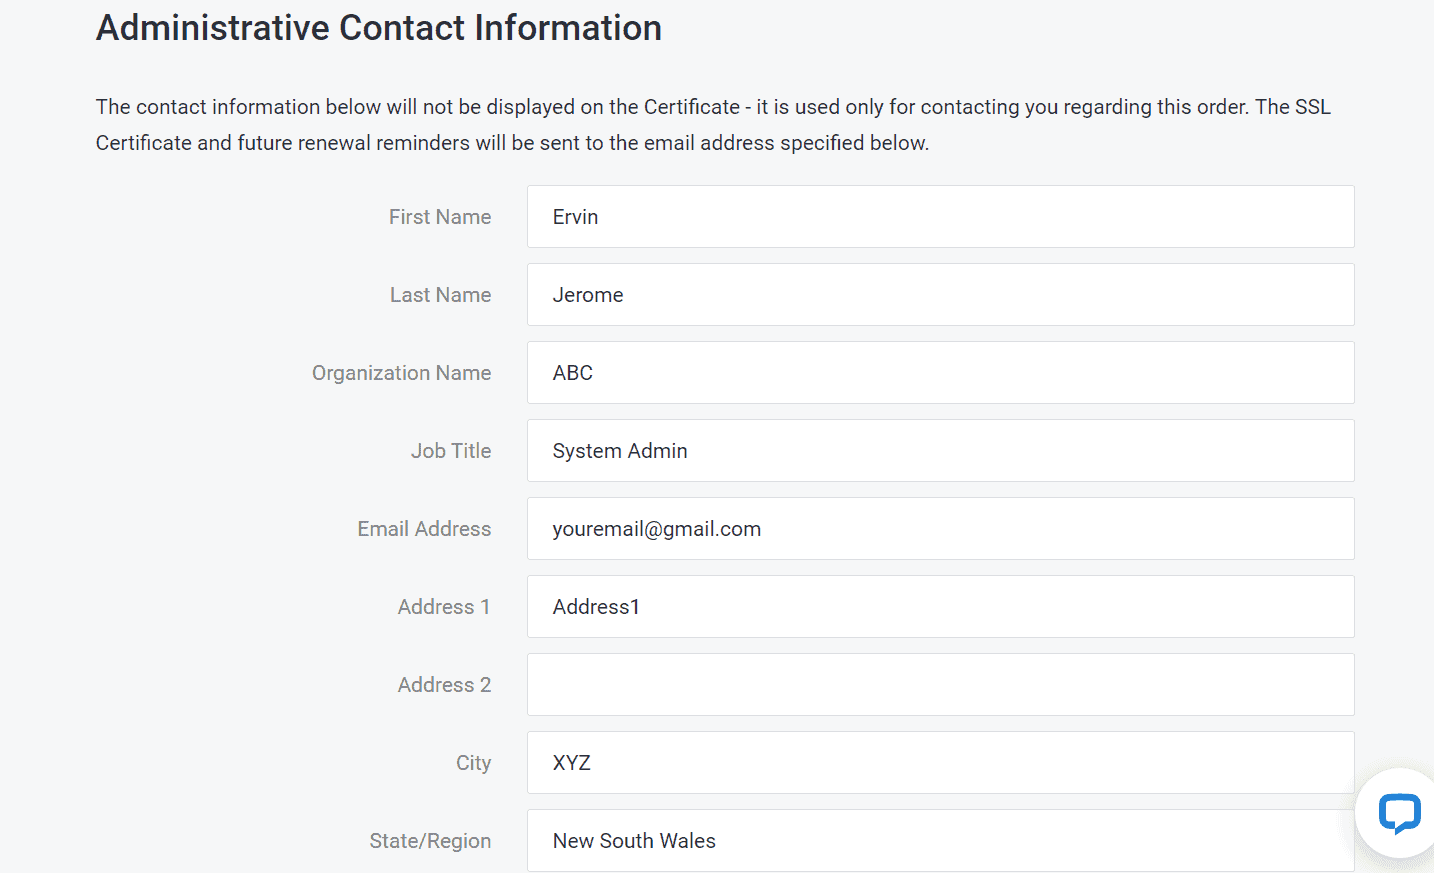
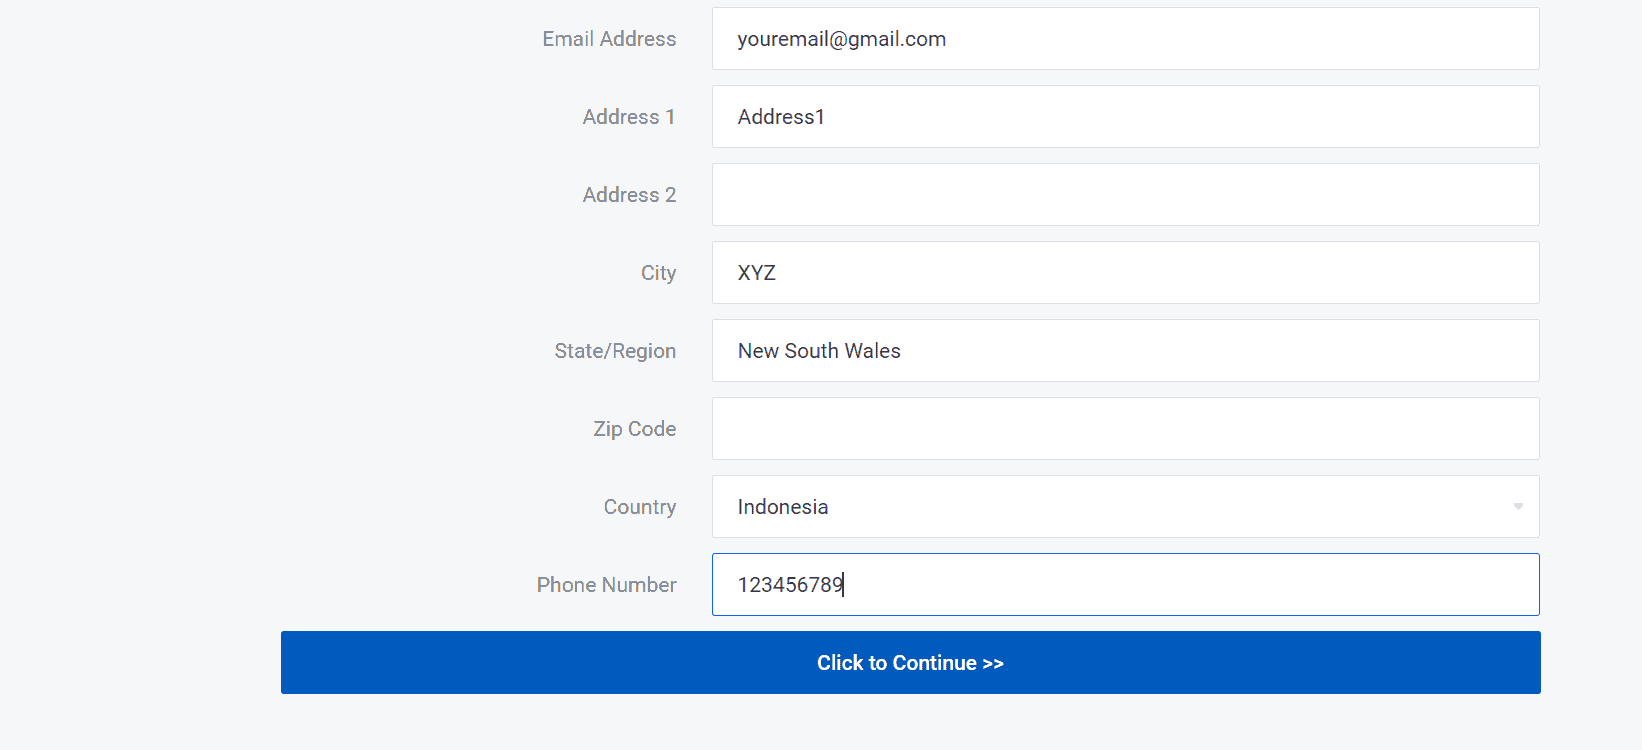
6) Fill your Organization name and Job title field and click “Click to continue”.
7) Choose the email address: admin@yourdomain.com to SSL validation.
8) You should receive an email in your email box admin@yourdomain.com. Then complete the validation.
9) Your SSL CRT will be now issued in your SSL product in Veeble client zone.
10) Copy the SSL CRT and Login to cPanel >> SSL/TLS >> Manage SSL hosts
11) From the drop-down menu, kindly select your domain. Next, paste your SSL CRT, and then proceed to click the ‘AUTOFILL’ option. Finally, click ‘Install Certificate’ to complete the SSL installation process.
Now check whether the certificate has been installed correctly, from here or here.