OpenCV (Open Source Computer Vision Library) is a library of programming functions mainly aimed at real-time computer vision and image processing. It is free for use under the open source Apache 2 License and is available for Windows, Linux, Mac OS, and Android. It was originally developed by Intel and now supported by Willow Garage and Itseez (which was later acquired by Intel).
The library is written in C and C++ and runs under Linux, Windows, and macOS. OpenCV supports a wide variety of programming languages including C++, Python, Java, and has been adopted for use in a multitude of domains including interactive art, mines inspection, stitching maps on the web, robotics, and much more.
OpenCV’s features :
- Image Processing: Functions for blurring, thresholding, morphological operations, color space conversion, histograms, etc.
- Computer Vision: Feature detection, object detection (face, people, etc.), object classification, motion analysis, machine learning tools.
- Video Analysis: Motion estimator, background subtraction, object tracking.
- Camera Calibration and 3D Reconstruction: For estimating the parameters of a lens and image sensor of an image or video camera for image correction or 3D reconstruction.
- Machine Learning: Integrated into the library are classical and state-of-the-art machine learning algorithms for classifying or recognizing patterns and objects.
- Deep Learning: OpenCV includes support for deep learning frameworks like TensorFlow, Torch/PyTorch, and Caffe, allowing the implementation and integration of deep learning models.
The extensive set of functions combined with its free availability and ease of use has made OpenCV a popular choice for students, researchers, and developers involved in computer vision applications. It’s continuously being developed and expanded by a large community, ensuring that it stays relevant and includes the latest advancements in computer vision and machine learning.
To install on Ubuntu, you can follow the below steps to get started for your computer vision projects. OpenCV can be installed in several ways, including using the package manager, compiling from source, or using pip for Python bindings.
1. Installing OpenCV from the Ubuntu Repository
2. Building OpenCV from Source
3. Using Python Virtual Environments
Prerequisites
Before diving into installing, ensure your Linux system is up to date.
Open your terminal and run:
root@ervintest:~# apt update && sudo apt upgrade1. Installing OpenCV from the Ubuntu Repository
This is the simplest method, suitable for those who need OpenCV for general purposes
root@ervintest:~# apt install libopencv-dev python3-opencvThis command installs OpenCV for both C++ and Python. The version in the Ubuntu repository might not be the latest, but it guarantees stability.
To verify the installation:
root@ervintest:~# dpkg -l libopencv-dev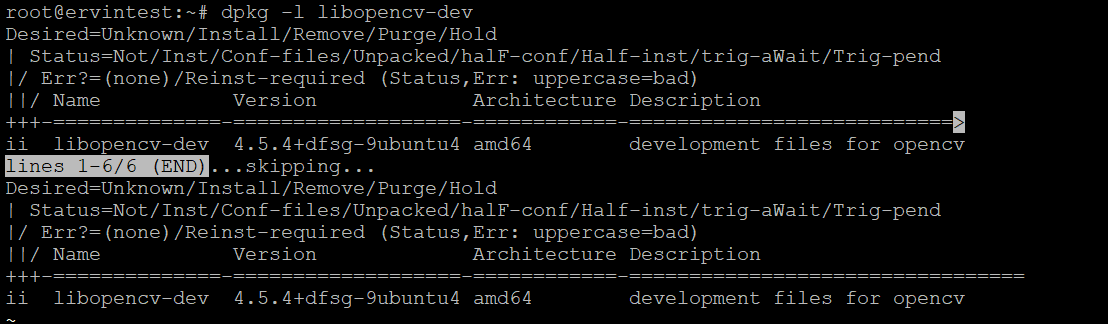
2. Building OpenCV from Source
Building from source offers the most flexibility, allowing you to configure with specific options, optimizations, and the latest features.
Install prerequisites:
root@ervintest:~# apt install build-essential cmake git libgtk-3-dev \ libavcodec-dev libavformat-dev libswscale-dev libv4l-dev \ libxvidcore-dev libx264-dev libjpeg-dev libpng-dev libtiff-dev \ gfortran openexr libatlas-base-dev python3-dev python3-numpy \ libtbb2 libtbb-dev libdc1394-22-devClone OpenCV and OpenCV_contrib repositories:
Create and access a directory for the OpenCV build.
root@ervintest:~# mkdir ~/opencv_build && cd ~/opencv_build
To clone the official OpenCV repository, use git.
root@ervintest:~# git clone https://github.com/opencv/opencv.gitClone the additional modules and navigate to the opencv_build directory.
root@ervintest:~/opencv_build# git clone https://github.com/opencv/opencv_contrib.git
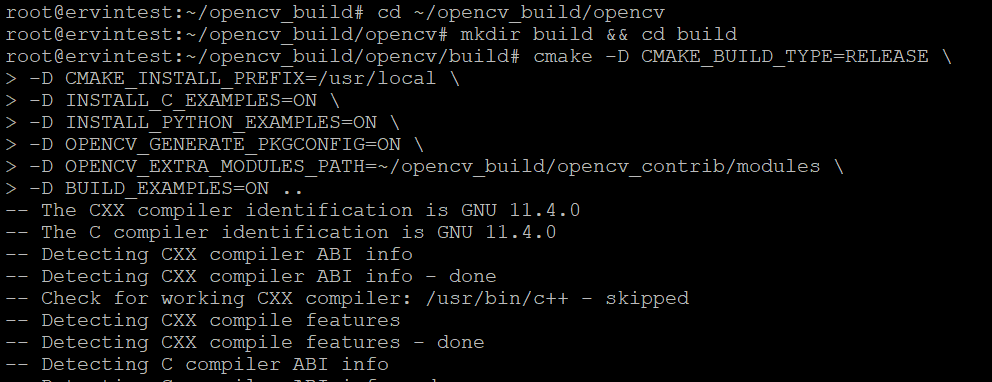
root@ervintest:~/opencv_build# cd ~/opencv_build/opencv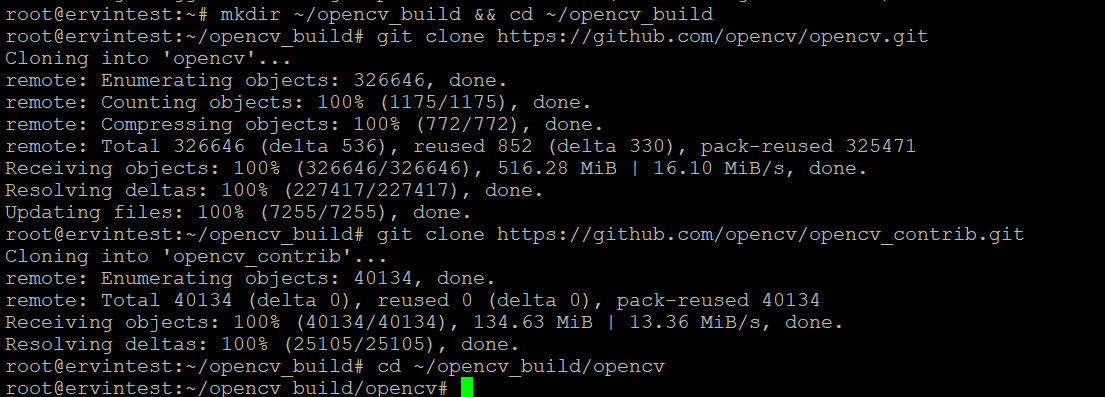
Build OpenCV from source:
Then create a build directory, and run cmake to configure the build system. Then, compile and install .
root@ervintest:~/opencv_build/opencv# mkdir build && cd build
root@ervintest:~/opencv_build/opencv/build #cmake -D CMAKE_BUILD_TYPE=RELEASE \
> -D CMAKE_INSTALL_PREFIX=/usr/local \
> -D INSTALL_C_EXAMPLES=ON \
> -D INSTALL_PYTHON_EXAMPLES=ON \
> -D OPENCV_GENERATE_PKGCONFIG=ON \
> -D OPENCV_EXTRA_MODULES_PATH=~/opencv_build/opencv_contrib/modules \
> -D BUILD_EXAMPLES=ON ..
root@ervintest:~/opencv_build/opencv/build # make -j$(nproc)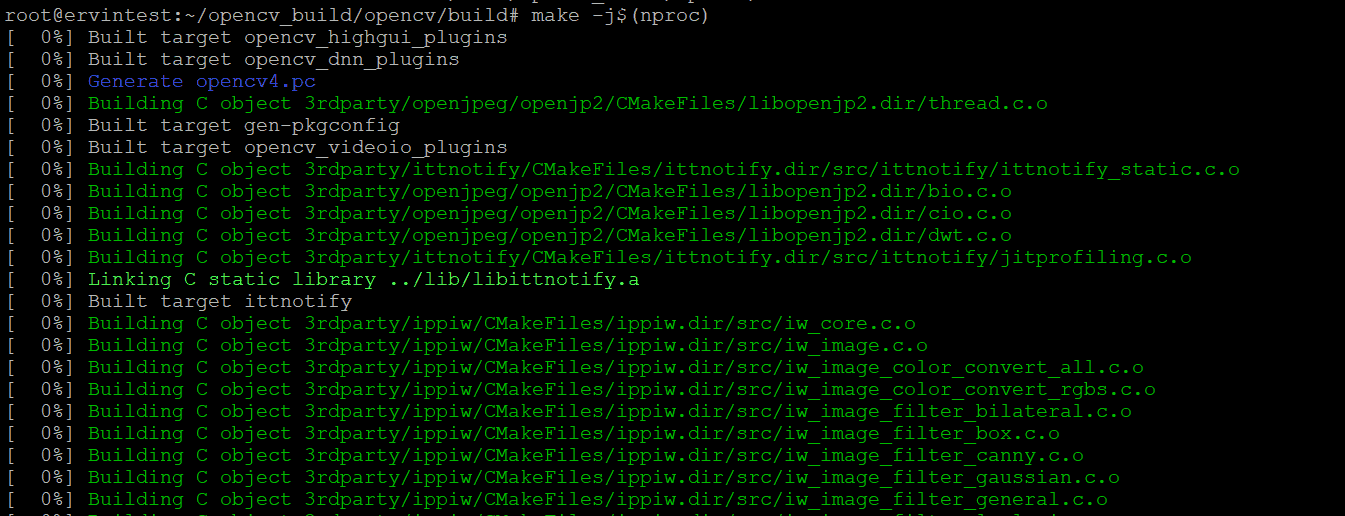
root@ervintest:~/opencv_build/opencv/build # make install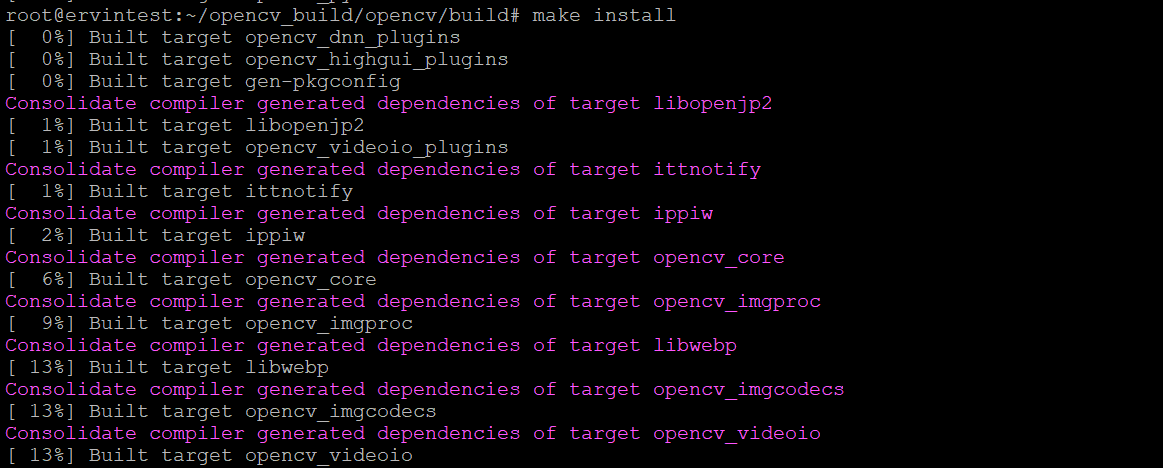
To verify the installation:
root@ervintest:~# pkg-config --modversion opencv4
3. Using Python Virtual Environments
Install Python virtual environment:
 root@ervintest:~# apt update
 root@ervintest:~# apt install python3-venv python3-pip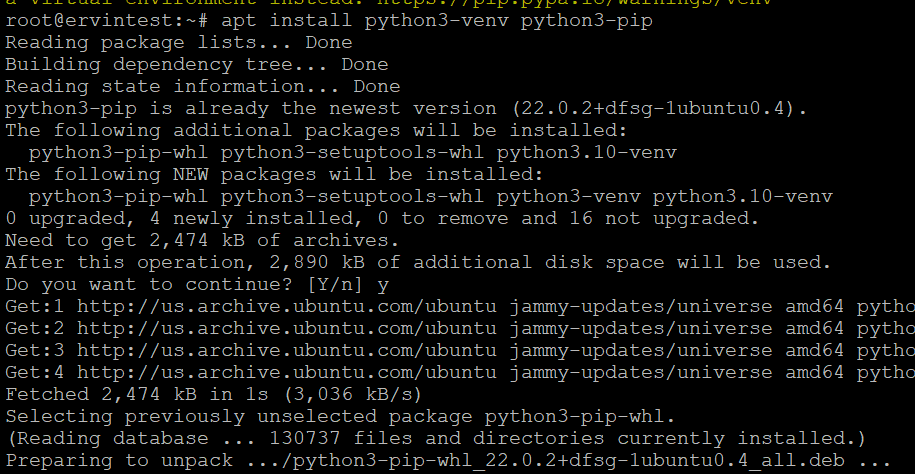
Create and activate a virtual environment:
root@ervintest:~# python3 -m venv opencv-venv
root@ervintest:~# source opencv-venv/bin/activate
Install OpenCV Python package:
root@ervintest:~# pip install opencv-python-headless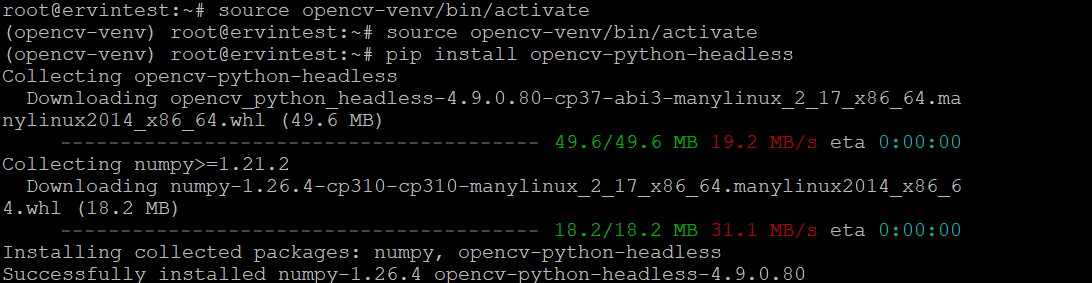
The opencv-python-headless package is a minimal package that includes only the core modules and no GUI functionalities. If you need full features, you can install opencv-python instead.
Conclusion
Choosing the right installation method depends on your specific needs, such as project requirements, ease of use, or the necessity for the latest features. Each method has its advantages, from the simplicity of package managers to the flexibility of building from source or the isolation provided by virtual environments