Looking to install a GUI on your Ubuntu VPS? This guide provides a comprehensive step-by-step approach to easily set up a graphical interface on your Ubuntu Virtual Private Server.

Requirements
For a lightweight desktop environment, it is advisable to have at least 1GB of RAM and ensure that there is sufficient disk space for the GUI components to occupy in it. A minimum of 10GB of free disk space is recommended for installing these components. Furthermore, you must have sudo privileges or access to the root account in order to install packages and make necessary system-level changes.
Securely Connecting to Your Ubuntu VPS
Use an SSH client like PuTTY for Windows or the terminal in macOS and Linux.
For Linux/mac:
ssh username@your_vps_ipUpdate and Upgrade Your VPS
Ensure the server’s package list and installed packages are up-to-date.
sudo apt update
sudo apt upgrade -y
Installing a Desktop Environment
In this tutorial, we will guide you through the installation of the XFCE desktop environment, a superior choice for empowering your VPS with a responsive graphical user interface. XFCE stands out as an exceptional option, catering to users who value unparalleled performance, optimal resource efficiency, and a rich spectrum of customization options… There are also other options for providing GUI for the VPS such as GNOME, Cinnamon, LXDE, KDE Plasma, MATE, etc.
sudo apt install xfce4 -yInstalling a VNC Server
Install and configure a VNC server to access the GUI remotely. We are using VNC Server called TightVNCServer which is a popular choice for its simplicity and effectiveness. To install it:
sudo apt install tightvncserver -yConfiguring the VNC Server
Initialize the VNC Server and set passwords. To do it execute “vncserver” command in the terminal and followed by entering a password for the VNC.
vncserver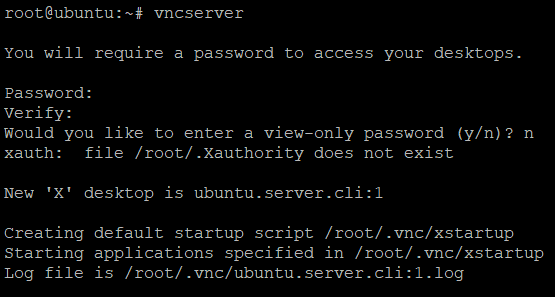
Note: When you initially run the vncserver and set up a password, you might encounter a prompt asking if you want to establish a ‘view-only’ password. It’s essential to respond with ‘No’ or ‘n’ because rejecting this option is necessary to enable mouse movement, keyboard input, and other interactive actions through VNC. If you want only to allow others to observe the VPS desktop via VNC without giving them control, answer y (yes) and then set a view-only password.
After initializing the vncserver, stop the VNC session for editing the configuration file. To stop it, execute:
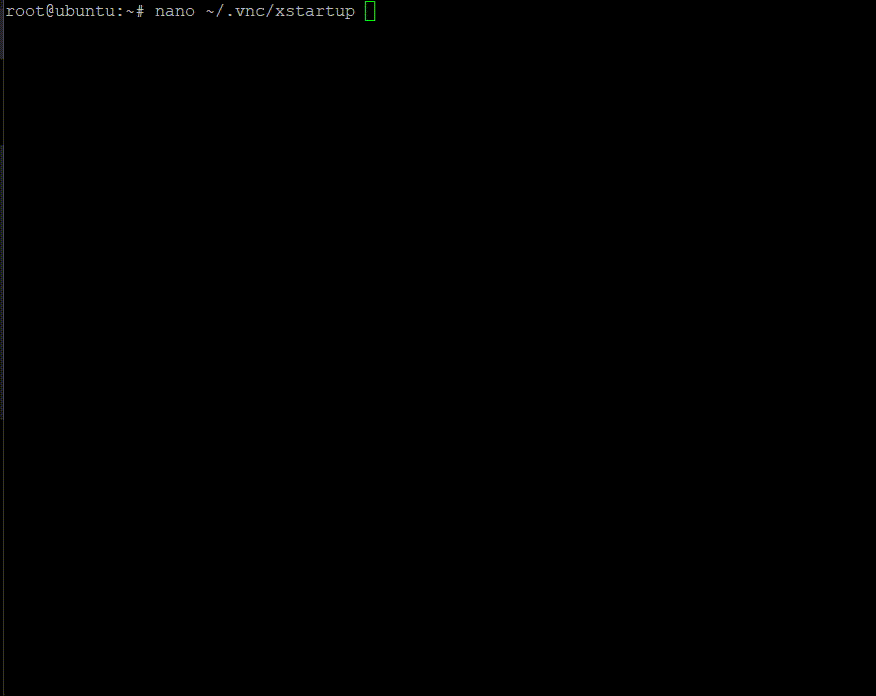
vncserver -kill :1Then edit the xstartup file. The file is located in ~/.vnc/xstartup. Open it with a text editor like nano or vim.
nano ~/.vnc/xstartupModify the file, and replace the content with the following lines:
!/bin/bash
xrdb $HOME/.Xresources
startxfce4 &
Use CTRL+O, Enter to save and CTRL+X to exit nano.
Then make the script executable:
chmod +x ~/.vnc/xstartupStart again the VNC server to begin using the GUI. This is by executing:
vncserver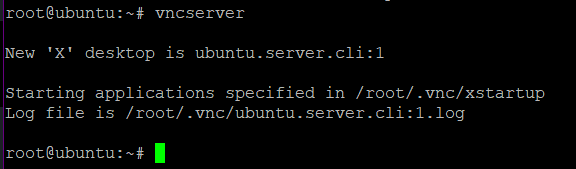
We’ve completed the server-side configuration for the GUI and VNC. Now, let’s shift our focus to the client side!
Connect via a VNC Client
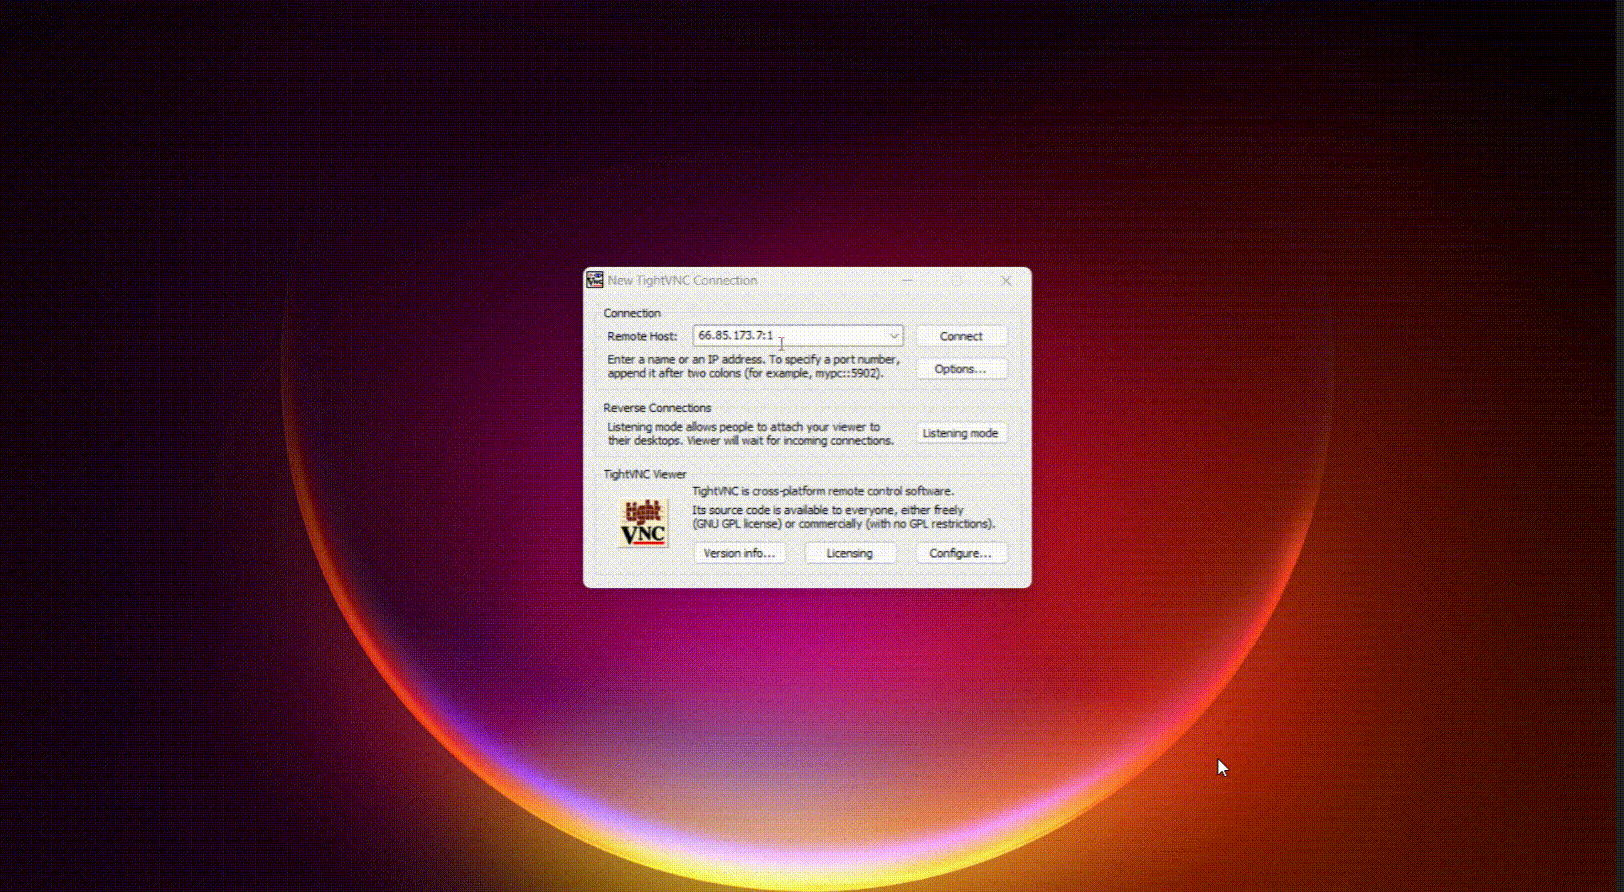
Use a VNC client from your local machine to connect to the VPS’s GUI. For Windows systems, TightVNC provides its own VNC client called TightVNC Viewer, which is compatible with TightVNCServer. Download and install TightVNC Viewer from the official website: TightVNC Viewer
For Linux, consider VNC viewers such as Remmina or Vinagre, and for Mac systems use RealVNC or Chicken VNC.
After successfully installing the VNC viewer, you can connect to your VPS GUI using the VNC software by entering the IP address of your VPS followed by ‘:1’ in the Remote Host Address Field in your VNC software. For instance, if your VPS IP is 66.85.173.7, you would enter ‘66.85.173.7:1’ as the Remote Host IP in your VNC Viewer software. Ensure to replace the placeholder IP address with the actual IP address of your VPS. Then enter the password you gave for VNC in the next field when installing vncserver on the VPS before.
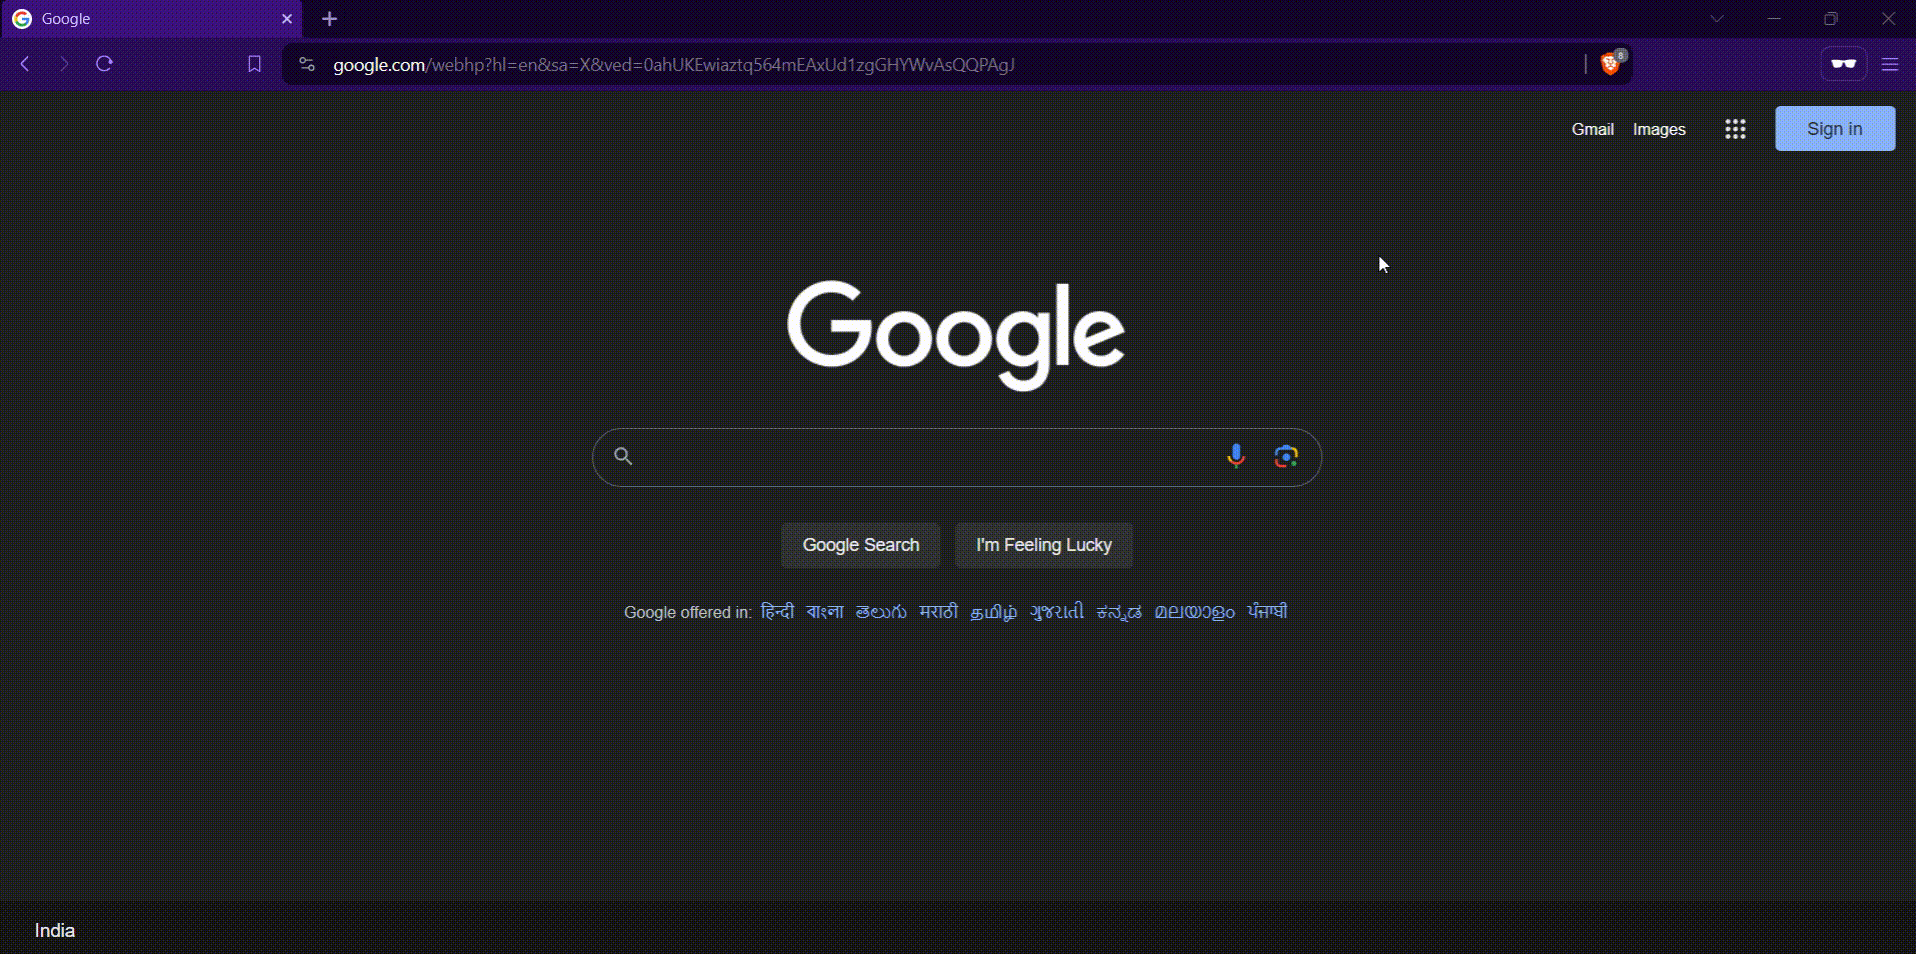
Connecting to the VPS via VNC viewer will land us on the GUI of your VPS if everything is configured correctly as mentioned in this step-by-step tutorial. Enjoy the new enriched user experience and efficient management of your VPS by setting up this. 😊🚀