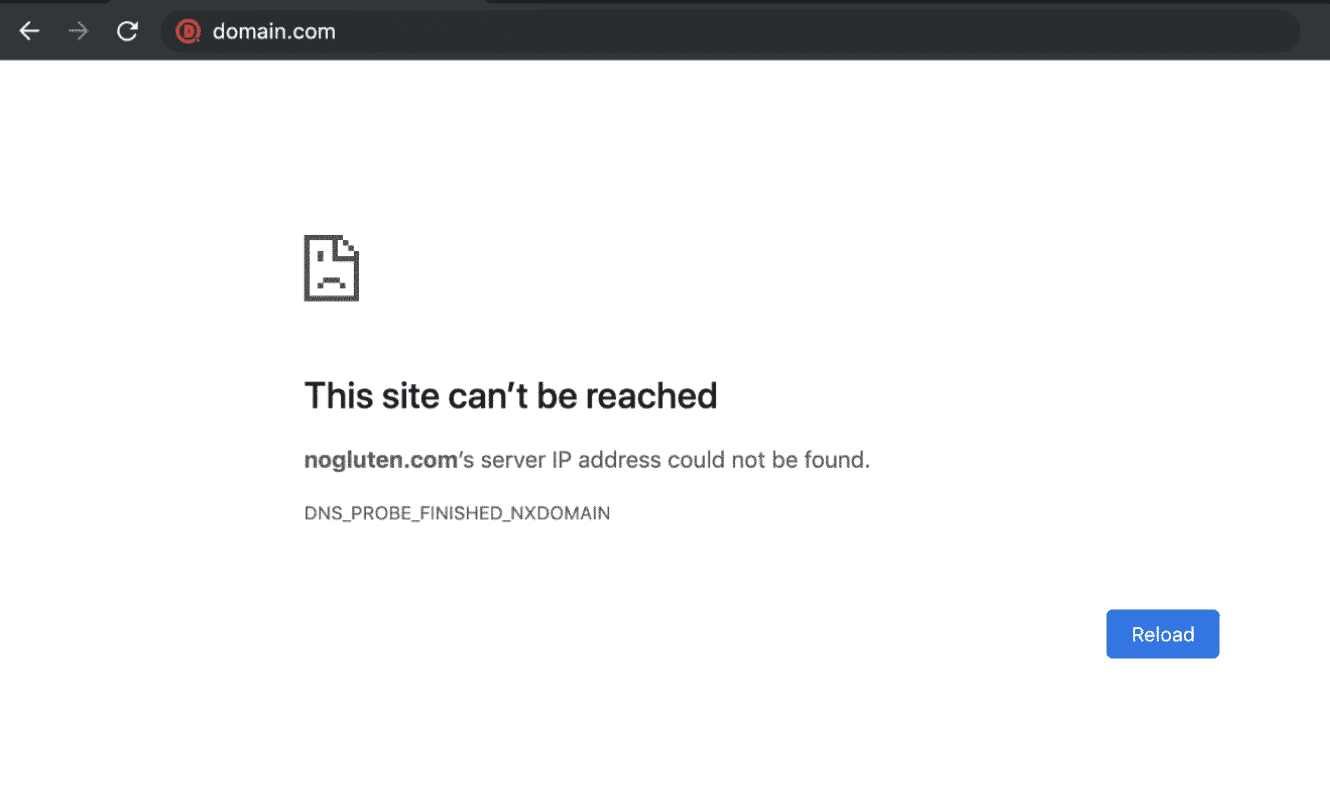
The ‘DNS_PROBE_FINISHED_NXDOMAIN’ error is a common problem when browsing the internet. This knowledge base aims to offer practical, experience-based solutions to address this issue. Please follow these steps to troubleshoot and resolve the problem:
Step 1: Verify Your Domain’s DNS Configuration with Your Hosting Provider
If you’re a website owner or administrator with control over your site’s DNS settings, you can check your DNS configuration. Visitors trying to access a specific website and facing the ‘DNS_PROBE_FINISHED_NXDOMAIN’ error can skip this step.
To confirm your DNS configuration, use online tools like intodns.com or leafdns.com. These tools check if your website’s DNS records are correctly set up. Here’s how to use one of them:
- Go to intodns.com.
- Enter your domain name (e.g., example.com).
- Click ‘Report.’
- Examine the results for any reported errors or issues.
If the DNS values provided by these tools don’t match your hosting provider’s recommendations, adjust your domain registrar settings accordingly. Keep in mind that changes to IP addresses or nameservers take time to propagate across the internet due to DNS propagation.
Step 2: Clear Browser Cache and Cookies
- Open your web browser (e.g., Chrome, Firefox, Edge).
- Press Ctrl + Shift + Delete (Windows/Linux) or Command + Shift + Delete (Mac) to open the clearing history menu.
- Select “Cookies and other site data” and “Cached images and files.”
- Click “Clear data.”
Step 3: Flush DNS Cache
For Windows:
- Press Win + X and select “Windows Terminal” or “Command Prompt (Admin).”
- Type the following command and press Enter:
ipconfig /flushdns

For Linux:
To perform the DNS cache flush, open the command prompt and execute both of the provided commands in the command line. Please keep in mind that one of the commands may only work on your machine, as their effectiveness depends on the specific Linux distribution you are using.
sudo systemd-resolve --flush-caches
sudo systemctl restart nscd
For Mac:
To flush the DNS cache on a Mac, you can use the Terminal application and enter specific commands based on your macOS version. Here one of the commands will only work as their effectiveness depends on the specific Mac distribution you are using.
sudo killall -HUP mDNSResponder
You’ll be prompted to enter your administrator password. After entering the password, press Enter.
OR
sudo dscacheutil -flushcache
sudo killall -HUP mDNSResponder
Step 4: Renew IP Address
For Windows:
In the same Terminal or Command Prompt window, type the following command and press Enter:
ipconfig /renew
For Linux:
- Open a terminal window.
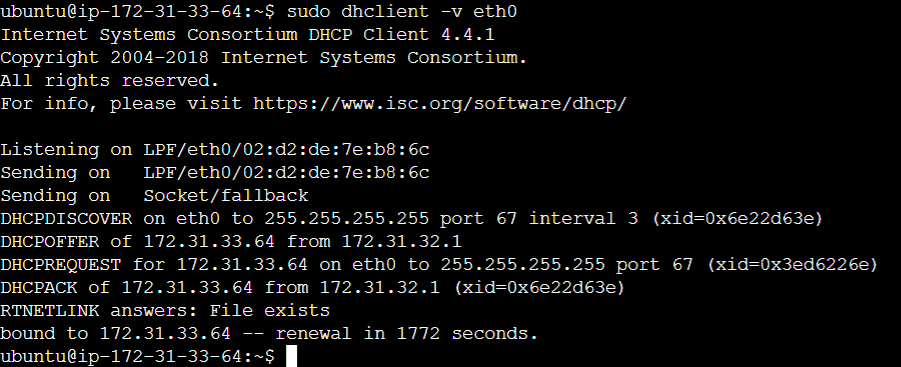
- Use the dhclient command to renew the IP address for your network interface. The most common network interface name is usually “eth0” or “enpXsY,” but it may vary based on your system configuration. To renew the IP address for “eth0,” enter the following command:
sudo dhclient -v eth0
Replace “eth0” with the appropriate network interface name if necessary.
- You will be prompted for your sudo password. Enter it to execute the command.
- The dhclient command will send a DHCP request to your DHCP server and attempt to renew your IP address.
For macOS:
- Open a terminal window on your Mac.
- Renewing the DHCP lease on macOS can be done using the ipconfig command, but it’s a bit different from Windows. You need to release the current lease and then renew it. Here’s how:
sudo ipconfig set DHCP
Replace <interface> with the name of your network interface, which is typically “en0” for Wi-Fi and “en1” for Ethernet.
After running the command, you might need to reconnect to your network to obtain a new IP address.
Step 4: Restart Modem/Router
Restarting the router/modem will flush the network cache on the network. This can be done by just powering OFF the router/modem followed by turning it ON after a minute!
Step 5: Change DNS Servers
For Windows:
- Right-click on the Start button and select “Network Connections” or “Network & Internet settings.”
- Click on “Change adapter options.”
- Right-click on your active network connection and select “Properties.”
- Scroll down and find “Internet Protocol Version 4 (TCP/IPv4)” or “Internet Protocol Version 6 (TCP/IPv6),” depending on your network setup.
- Select it and click “Properties.”
- Choose “Use the following DNS server addresses” and enter your preferred and alternate DNS server addresses.
- For Google DNS, use these values:
- Preferred DNS server: 8.8.8.8
- Alternate DNS server: 8.8.4.4
- Click “OK” to confirm.
For Linux (Ubuntu-based):
- Open a terminal window.
- Edit the network configuration file by running the following command with administrative privileges (use sudo):
sudo nano /etc/network/interfaces
- Find the line that begins with dns-nameservers and replace the existing DNS server addresses with your preferred DNS servers.
- Save the file and exit by pressing Ctrl + X, then Y, and finally Enter.
- To apply the changes, restart your network service:
For Mac:
- Click on the Apple menu in the top-left corner and select “System Preferences.”
- Click on “Network.”
- Select your active network connection on the left sidebar.
- Click the “Advanced” button in the lower-right corner.
- Go to the “DNS” tab.
- Click the “+” button below the left-hand DNS Servers box to add a DNS server. Enter the DNS server address you want to use.
- You can add more DNS servers by clicking the “+” button again.
- Drag the DNS servers into the order of preference. The top one will be the primary DNS server.
- Click “OK,” then “Apply” to save the changes.
Remember to use DNS servers from reputable providers, like Google DNS (8.8.8.8 and 8.8.4.4) or Cloudflare DNS (1.1.1.1 and 1.0.0.1), for improved performance and security.
By following these steps, you can effectively troubleshoot and resolve the “DNS_PROBE_FINISHED_NXDOMAIN” error, improving your browsing experience and ensuring that your DNS settings are optimized for performance and reliability. If the issue persists after attempting these steps, consider seeking further assistance from technical experts or your Internet Service Provider (ISP).
In some cases, disabling your antivirus software or VPN (Virtual Private Network) can also resolve the “DNS_PROBE_FINISHED_NXDOMAIN” issue. Antivirus programs and VPNs may sometimes interfere with the DNS resolution process, causing unexpected errors. If you’ve tried the steps outlined in this guide and the problem persists, consider temporarily disabling these security measures and see if that resolves the issue. Remember to re-enable them once you’ve finished troubleshooting to ensure your online security is maintained.