Here, we will show you how to set up private nameservers with Veeble Client Area.
What is a private nameserver?
Name servers are part of the DNS (Domain name system) database. This centralized archive converts domain names and hostnames into IP addresses. Nameservers redirect visitors to the proper location of your content when they type in your website’s URL.
Each hosting provider has its own set of nameservers. There can be two or more, and they usually look like this:
ns1.yourhostingprovider.com
ns2.yourhostingprovider.com
So how are private nameservers different?
With private name servers, you can practically brand your domain name records with your company’s name. You could change the default nameservers as follows:
ns1.yourbrand.com
ns2.yourbrand.com
Here, we will help you with the steps to do that…
How to Register and Set Up Private Nameservers in Veeble Client Area
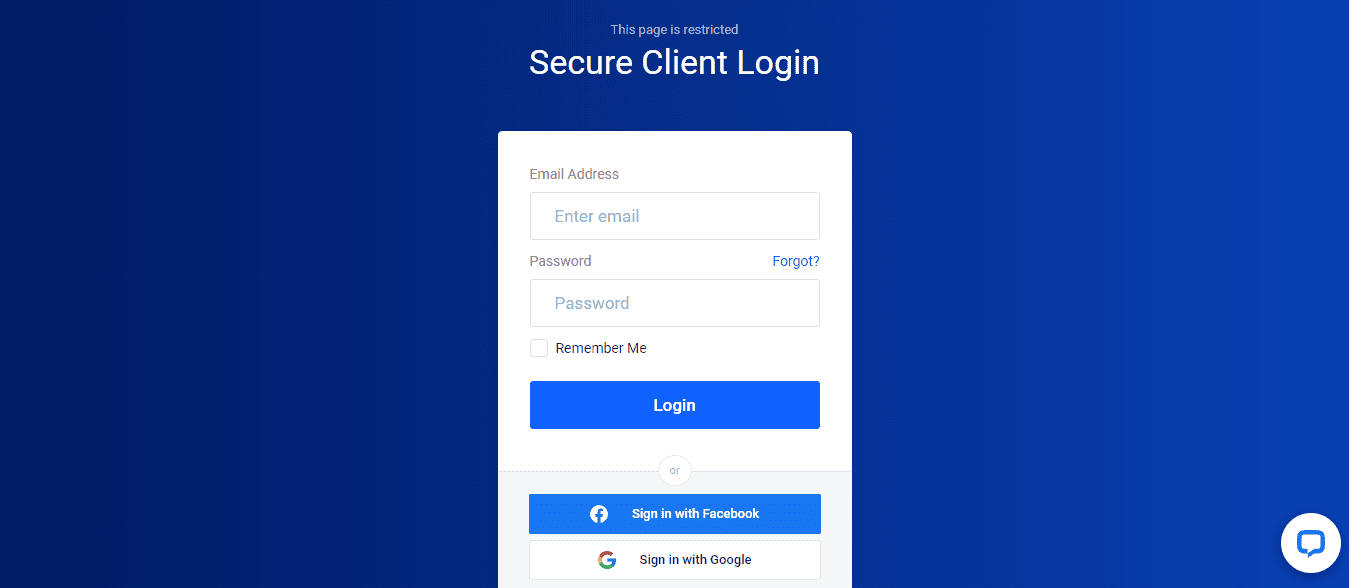
- The first step is to log in to the Veeble client area using your login credentials.
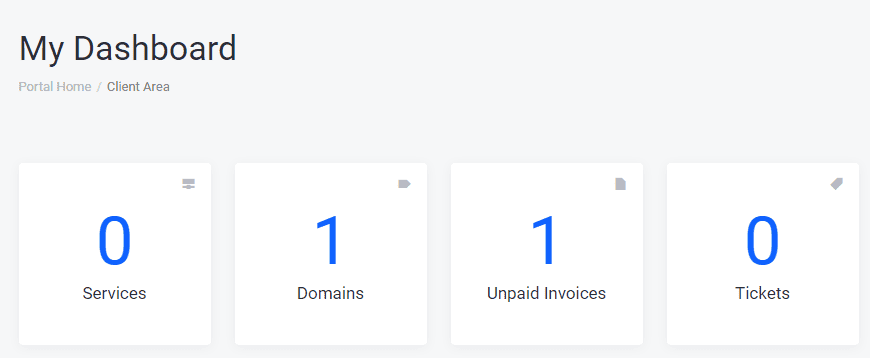
- Once you are logged in, you can see your dashboard. Click “Domains”.
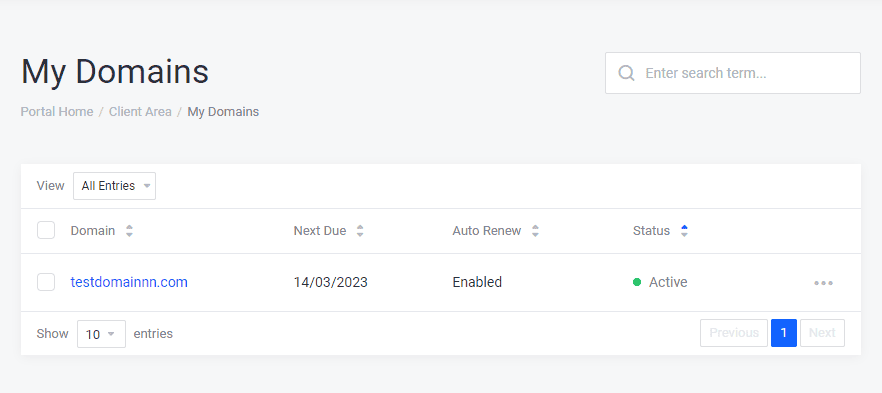
- This will take you to another page “My Domains”, where you can see the status of the domain you own.
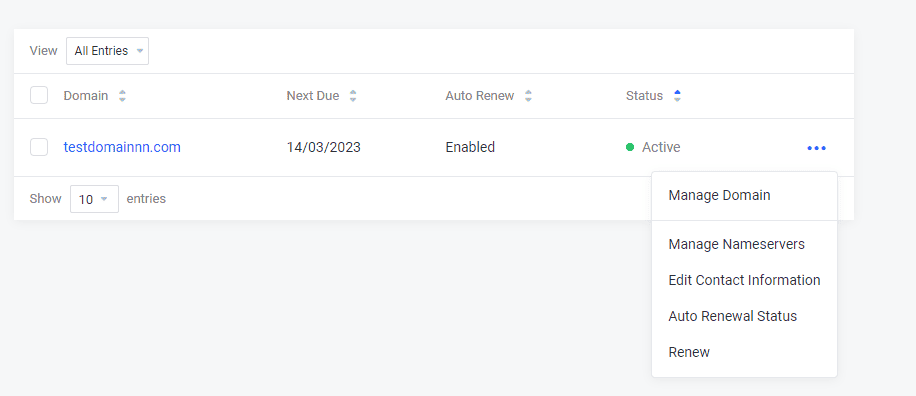
- Next, click on the three dots in the right corner. A drop-down menu will appear. Click on manage nameservers. You can register and set up your private nameservers on the manage nameservers page.
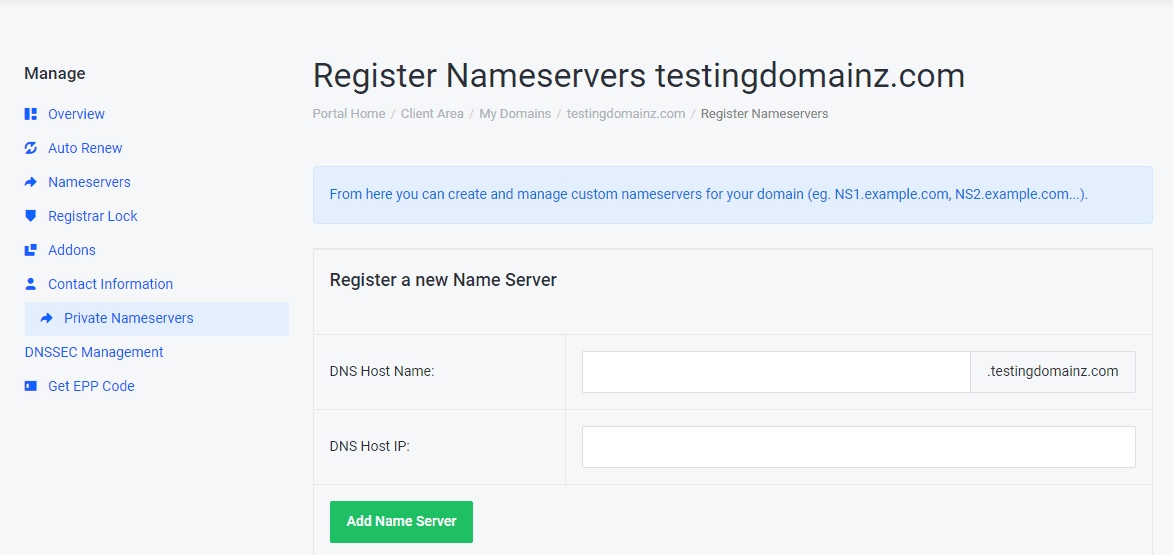
Register Private Nameserver
To register all the private nameservers, go to “Private Nameservers” under the Manage Section on Manage Nameservers Page.
- You can see two fields to fill under the title ” Register a new Name Server”.
- First, fill in your preferred name in the field “DNS Host Name”
- Next, fill in your private nameserver IP address in the area “DNS Host IP”
- Click “Add Name Server” to register your new nameserver.
- Follow the same procedure with the remaining nameservers.
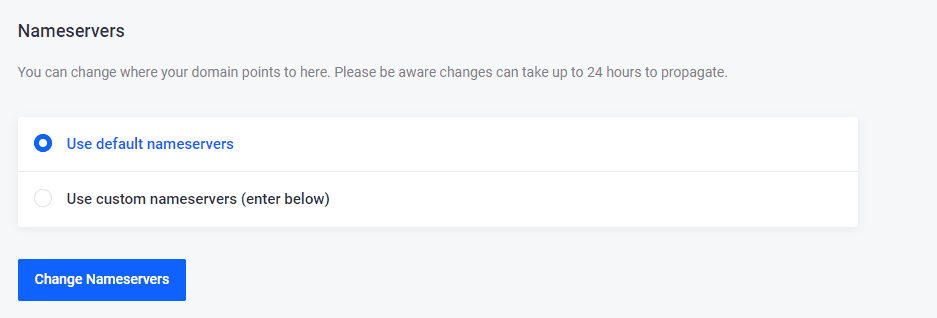
Set up Private Nameserver
For the final step, click the “Nameservers” under the Manage section on Manage Nameservers Page. This will lead you to a page where you can set up your nameservers.
- If you choose “use default nameservers” it will look like ns1.yourhostingprovider.com, ns2.yourhostingprovider.com.
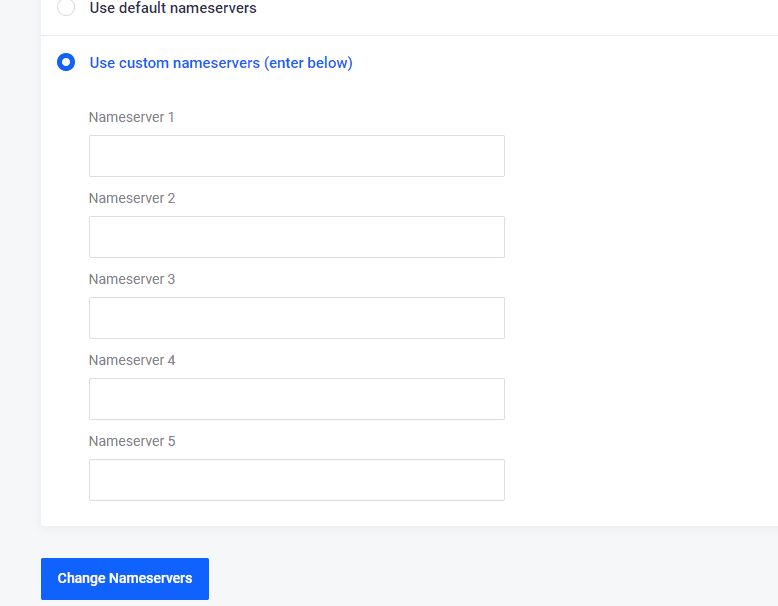
- If you choose to use custom nameservers, you can set up private nameservers like ns1.yourbrand.com, ns2.yourbrand.com, etc. Enter the desired names in the field given below.
- Click the Change Nameserver button once you have selected and entered the desired names.
This is how you register and set up private nameservers if you did your domain registration with Veeble.